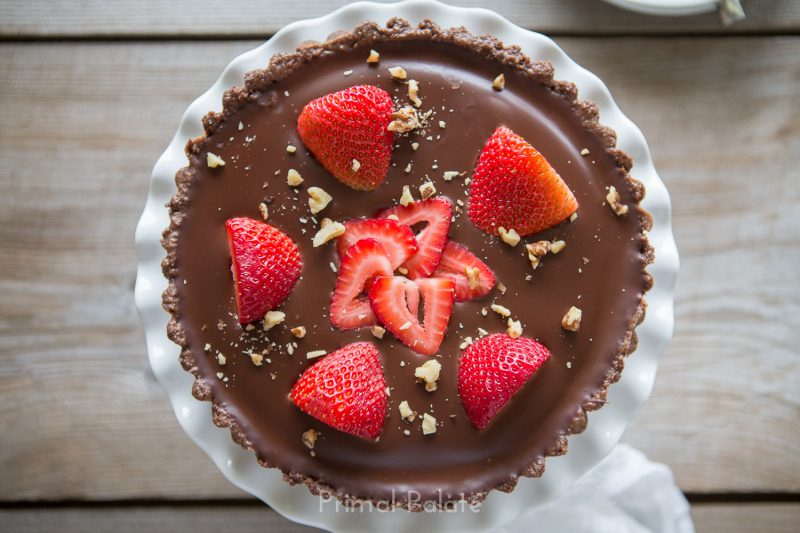
Last week we posted a recipe for Crispy Chocolate Cookies, with the intention of posting this recipe a few days later! So sorry guys. I didn’t mean to keep you waiting this long. Also…I really promise some real food recipes soon. No. More. Treats. 🙂
I mentioned in the previous post that I saw this recipe on Tastemade, and had to make it grain-, dairy-, and egg-free. It turned out beautifully, and I’m so excited to share it with you!
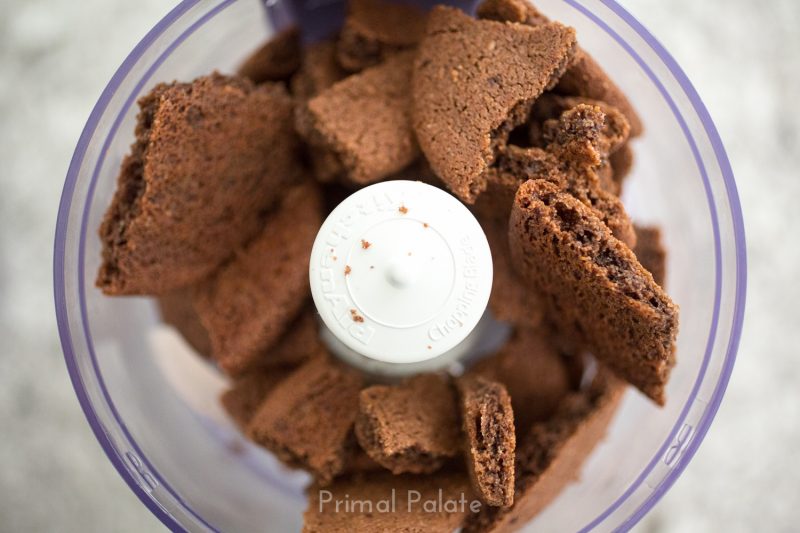
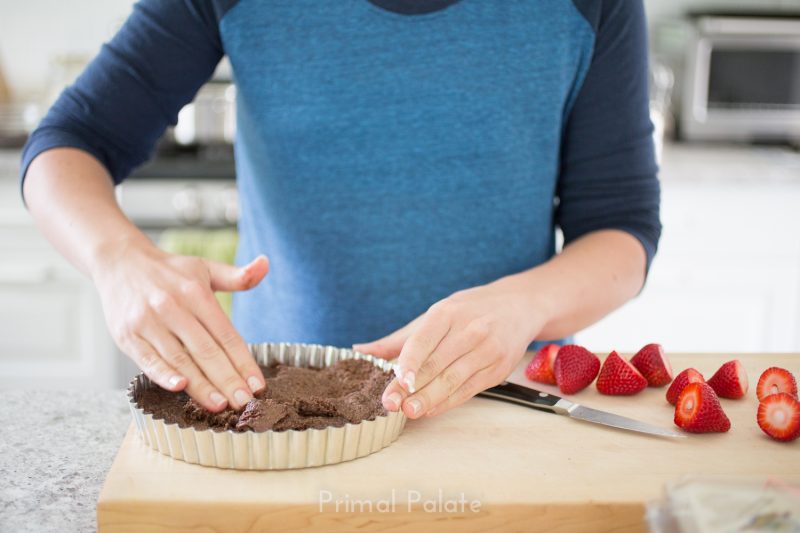
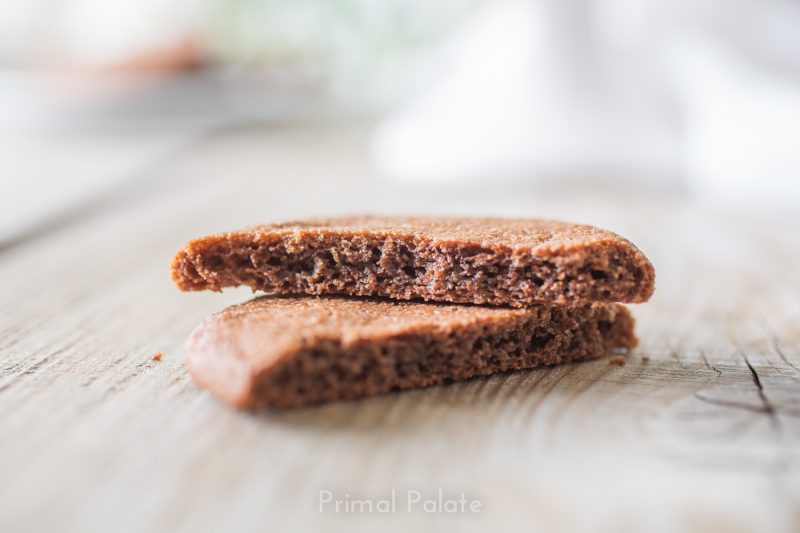
The crust uses our new cookie recipe, but if you can’t eat nuts, you could use the nut-free pie/tart crust from Make it Paleo II. It’s fabulous!
You could also eat this sans crust, and enjoy it just as much that way! This recipe did make more filling than was needed for the tart crust, and since I’m awful at math, I didn’t try to figure out the correct amount for this size tart, but that was totally okay, because I just poured the excess into a dish, and saved it for Bill to eat on it’s own. I ended up making this for him a second time when he was craving dessert, and layered it with sliced banana. He loved it.
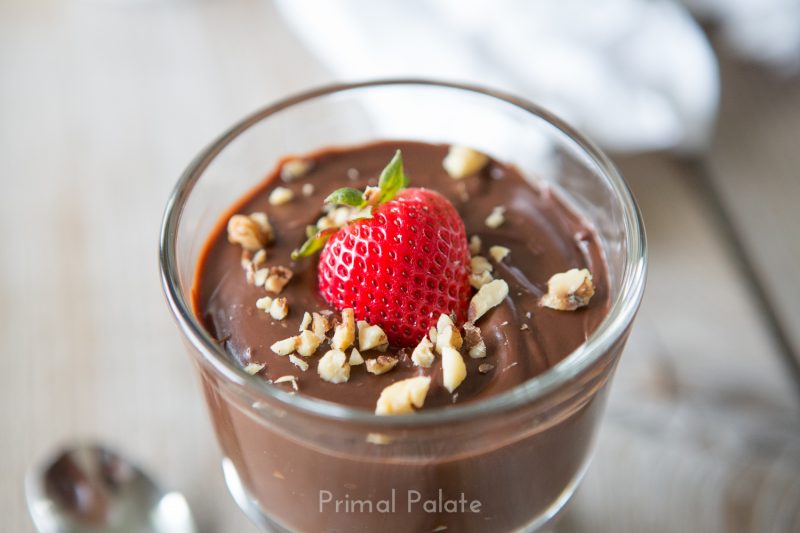
The filling for this tart is really simple. It’s just chocolate, and coconut cream.
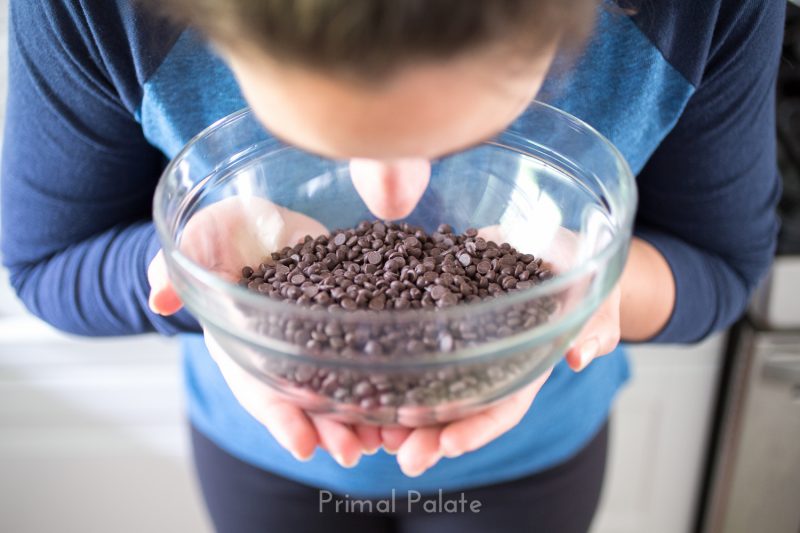
{I love chocolate…. too bad I can’t eat it}
I used one bag of Enjoy Life chocolate chips since they are dairy-free, and the thick cream from two cans of coconut milk. If you have never done this before, you will want to refrigerate your cans of coconut milk so that the cream separates from the water. (I show you how to do this in a video we posted. You can see that HERE). This creates basically the non-dairy substitute for heavy whipping cream. Since I’ve been doing this for a while, I can usually tell by just feeling the can of coconut milk if it has a good separation, and I wont need to chill it, but for newbies I’d definitely suggest the refrigeration trick.
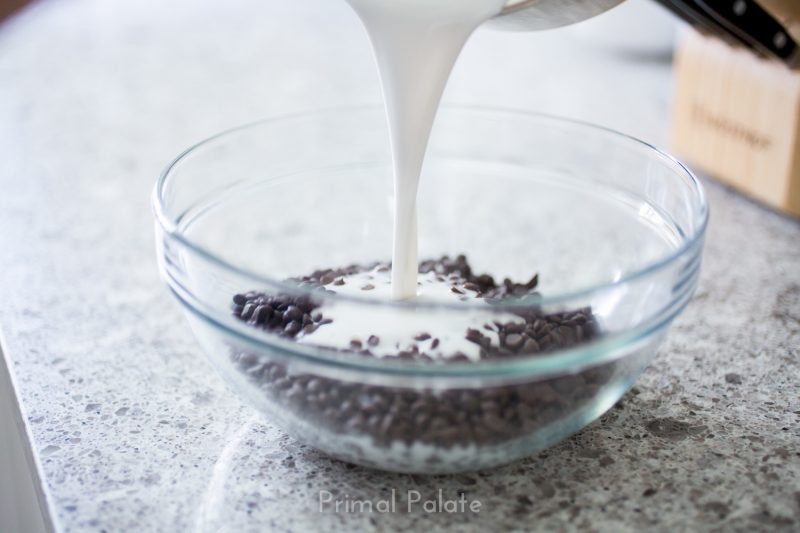
For this recipe you simply pour the chocolate chips into a glass bowl, and heat the coconut cream until it’s scalding (steam rising but not boiling). Then you pour the cream over the chocolate, and stir to combine.
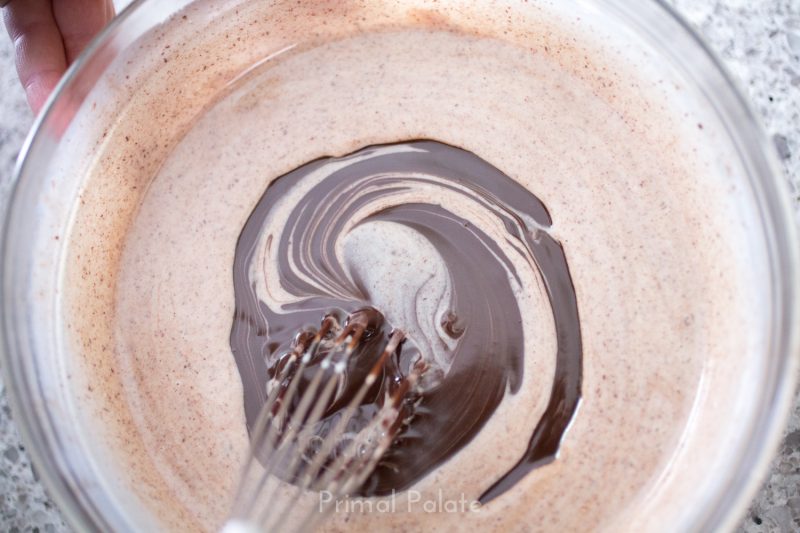
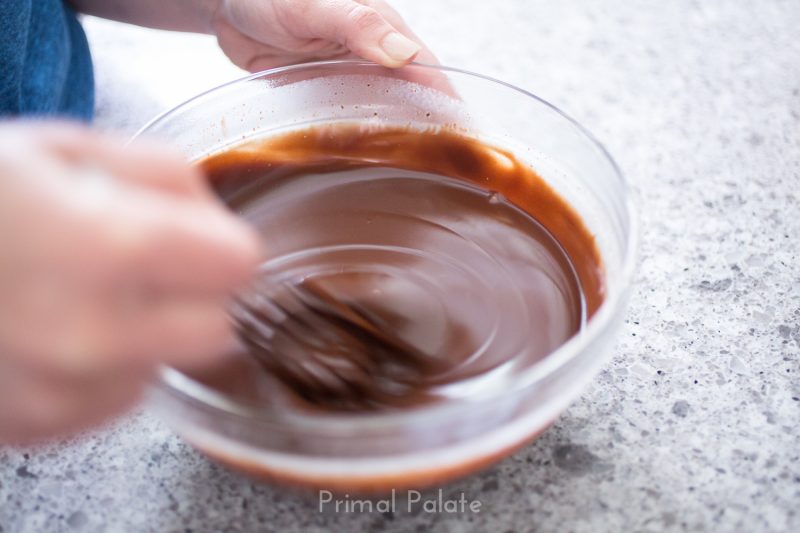
After making this the first time, I realized that it’s best to let it sit until it really thickens nicely. Once it cools completely, you can refrigerate it for 10-20 minutes to get it to set up well, or you can just leave it out to thicken. When it’s still warm it will be a thinner consistency, and any fruit you want to garnish it with will sink. Once it cools and sets up it becomes more like a pudding, then once it’s completely chilled and set in the fridge it’s like a mix between pudding and fudge…because that doesn’t sound delicious!
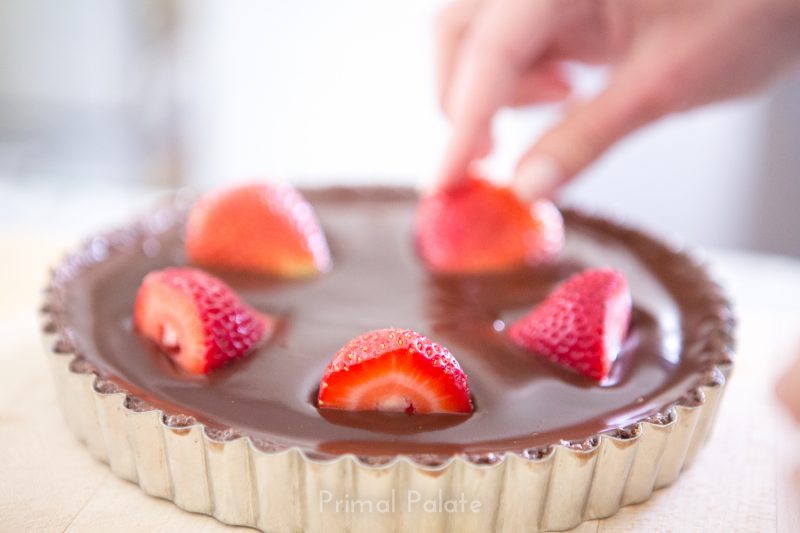
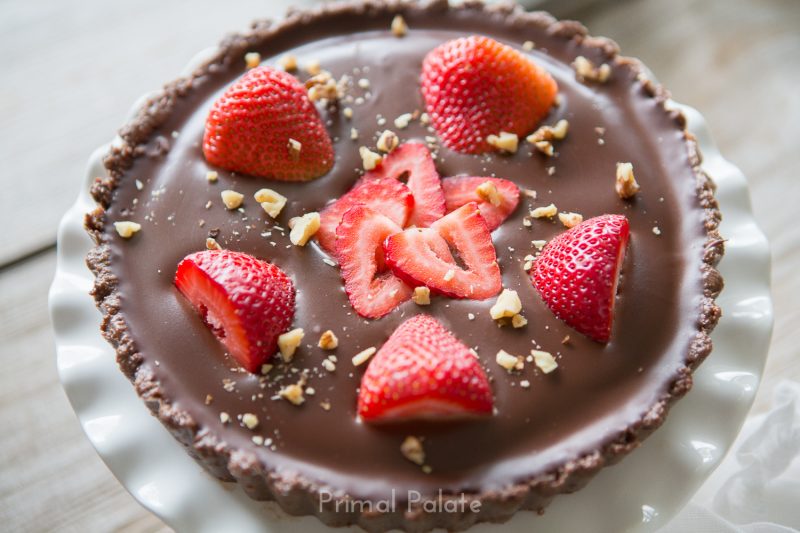
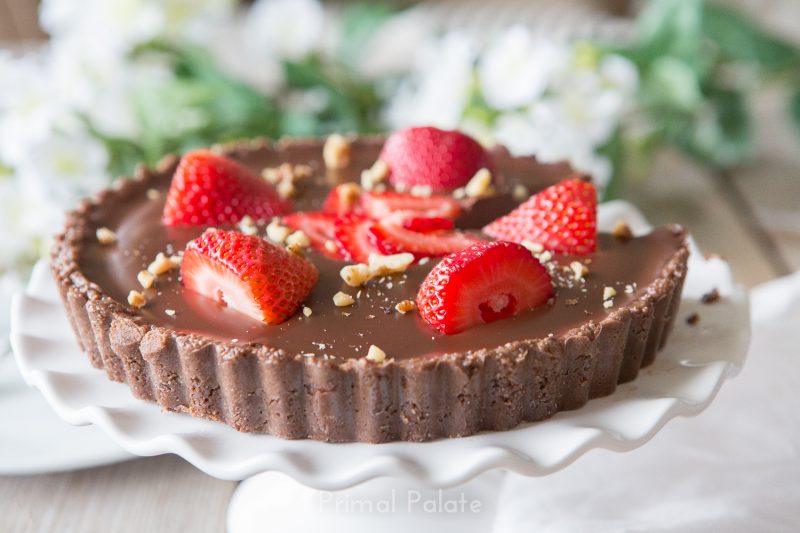
I garnished this recipe with fresh, organic strawberries and chopped walnuts, but you could use any fruit or nut combo you would like.
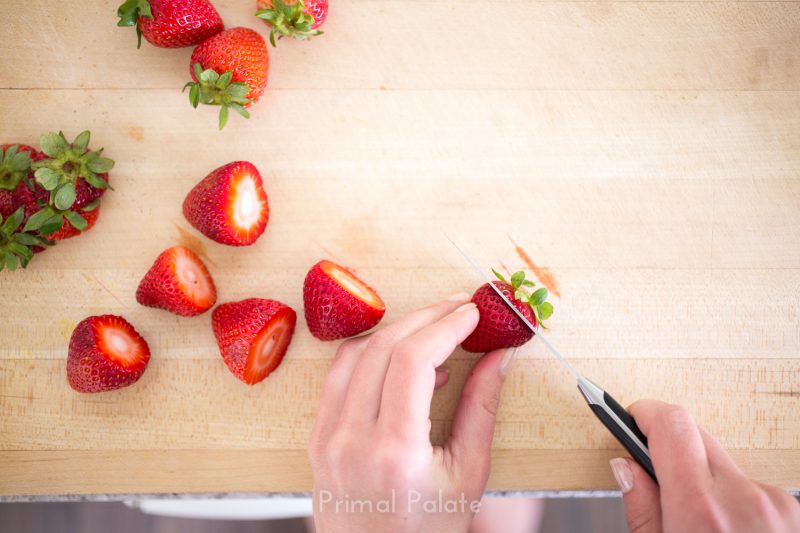
It would be great with any berries, and is delish with bananas as well. If you can’t eat nuts, you could sprinkle some toasted coconut on top as well.
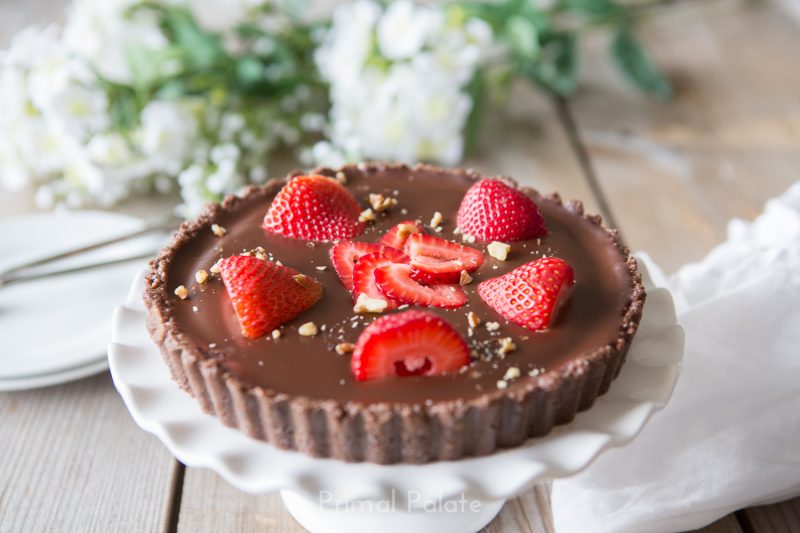
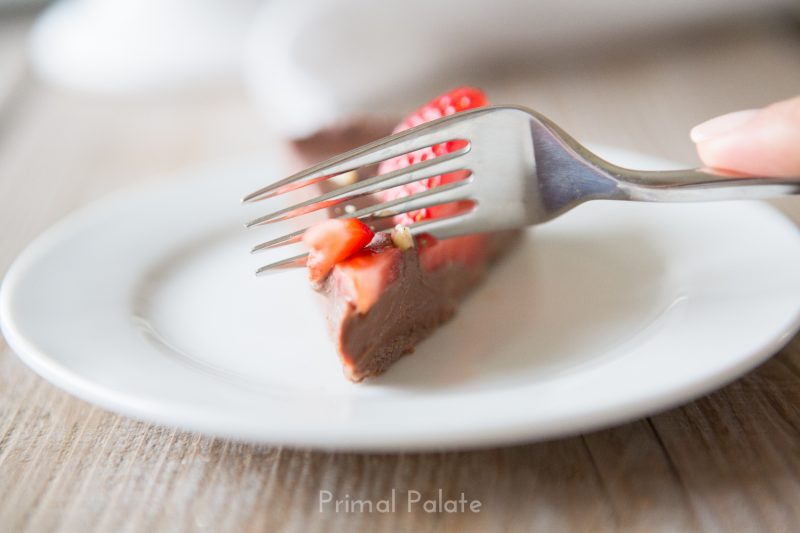
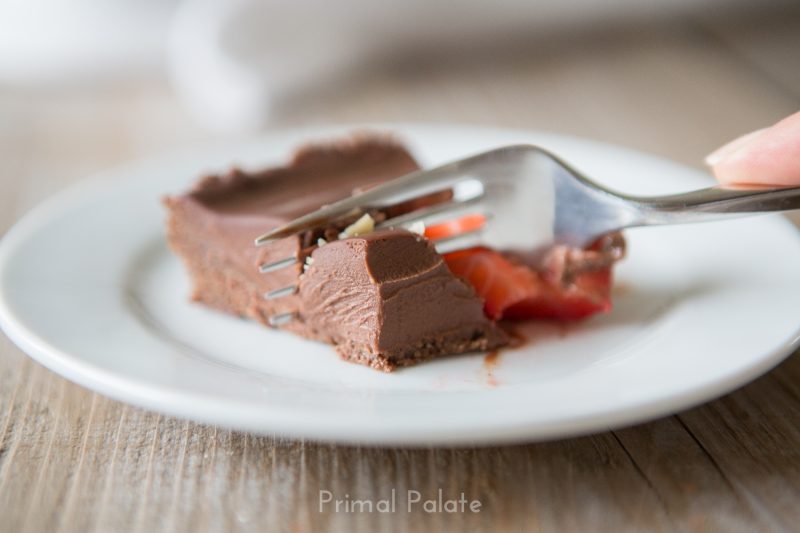
Bill said this might be the best dessert I have ever made, which is kind of a big deal, because you all know that I’ve made a lot of desserts! This is definitely going to be my go-to recipe for serving house guests. It’s a really special dessert, that looks stunning, and is really easy to make!
I hope you all love it!
xo,
Hayley
Oh yeah, and don’t forget that we are giving away a top-of-the-line KitchenAid stand mixer to ONE lucky reader. Visit THIS POST to Enter. Good luck!
Double Chocolate Tart with Strawberries
Ingredients
- 1/2 cup 1/2 cup 1/2 cup Organic [*Spectrum Brand, sustainably sourced] Palm Oil Shortening
- 10 oz 10 oz 10 oz Semisweet Chocolate Chips, Enjoy LIfe brand

- 28 oz 28 oz 28 oz Coconut Cream, two cans of coconut milk, discard the water

Process
- Pour the chocolate chips into a medium sized glass mixing bowl, and set aside.
- Open two cans of coconut milk from the bottom, and pour out the water that has separated from the cream. Scoop out the cream into a small saucepan, and set aside while you make the crust.
- Break 10 cookies into a smaller pieces, and place them in a food processor. Pulse the cookies in the food processor until they are finely ground.
- Add the palm shortening to the food processor, and blend until combined.
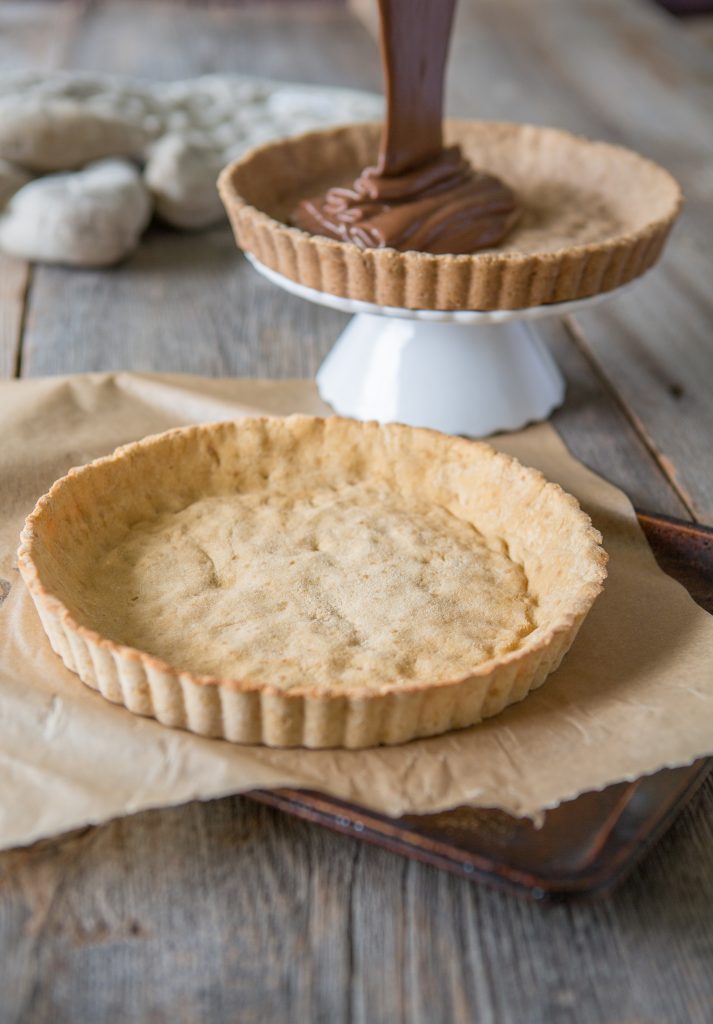
- Pour the crust ingredients into an 8 inch tart pan, and gently press the crust into the sides in an even layer. Place the crust in the freezer for 45 minutes.
- Turn your burner onto medium heat, and heat the coconut cream until scalding. Steam rising from the liquid, but not boiling.
- Pour the hot cream over the chocolate, and stir until smooth.
- Allow the chocolate filling to cool, and then place in the fridge to set up for 10-20 minutes, or allow to sit at room temperature for about an hour until it thickens, stirring every so often.
- Remove the crust from the freezer, and pour the filling into the tart pan. Pour any remaining filling into extra dishes to enjoy on it's own.
- Garnish with fresh berries, and place in the fridge for up to 2 hours, or until serving. Garnish with chopped nuts or toasted coconut before serving.



The cake looks very yummy. I am going to bake it and technique of making a cake is different here.
http://www.loveandquiches.com/ .
Is there a substitute for palm shortening? Butter? Coconut oil?