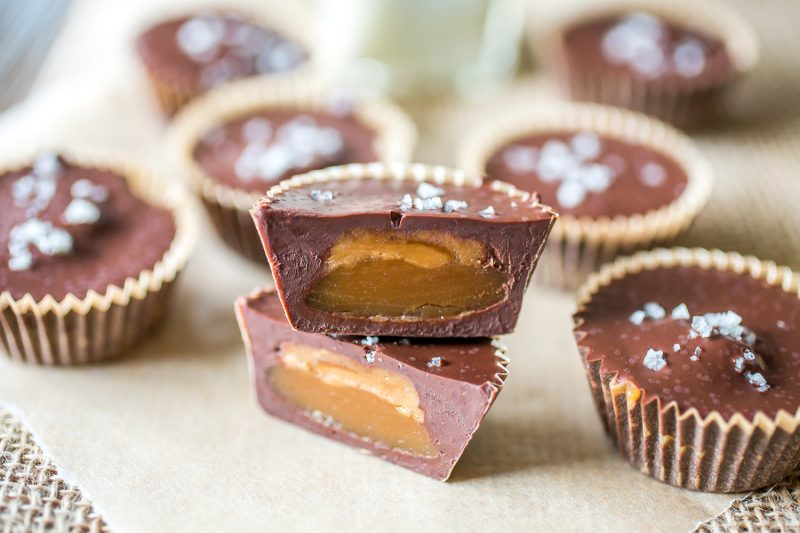
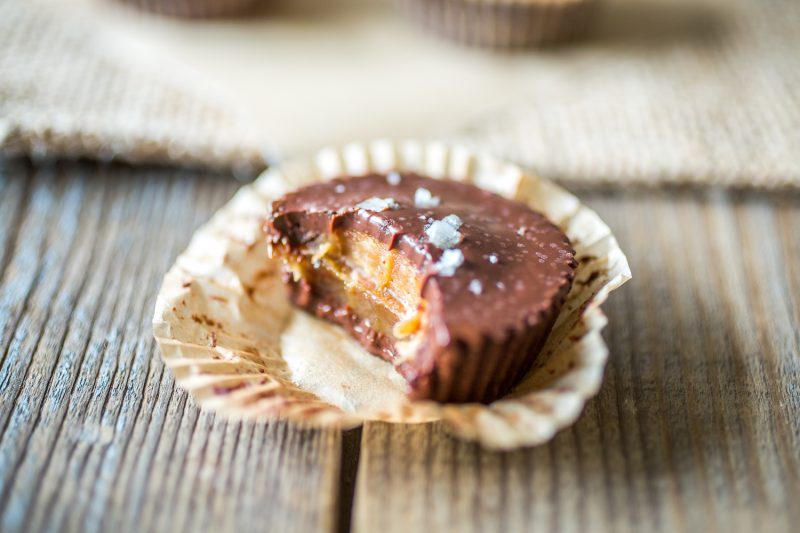
Soooo. I made chocolate caramel cups. Don’t ask me why. I really am not sure what inspired me. One of my all time favorite treats are the caramel cups by Sun Cups. Those or the mint ones. I can’t even eat sugar, so who knows what I was thinking making these, but I did. You’re welcome.
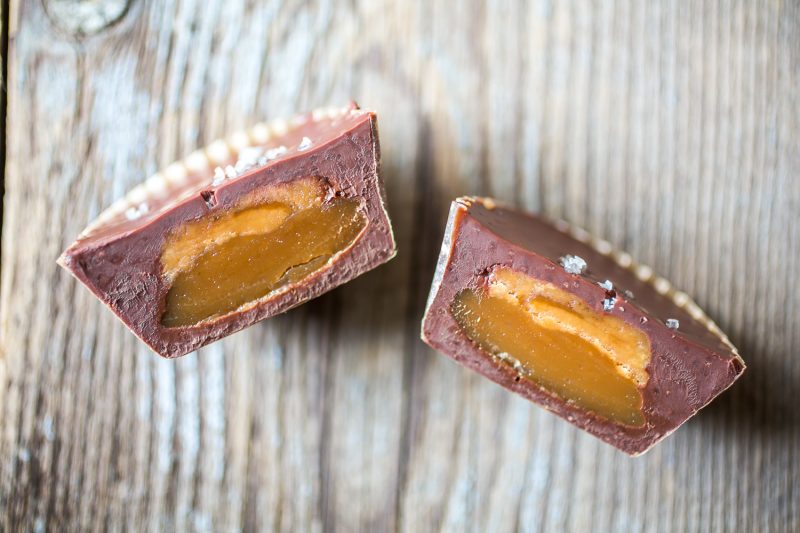
Bill created a fantastic caramel for our cookbook Gather, but it uses dairy, so I wanted to try making a recipe without dairy. I based this recipe off of that a bit, and it worked really well. I did full fat coconut milk (one without guar gum) but it had separated, so there was a good bit of water mixed in there from the can. Caramel typically uses butter, and for this I thought using Tin Star Foods Brown Butter Ghee would add really great flavor. I was correct. Along with that, I added maple sugar, and vanilla extract.
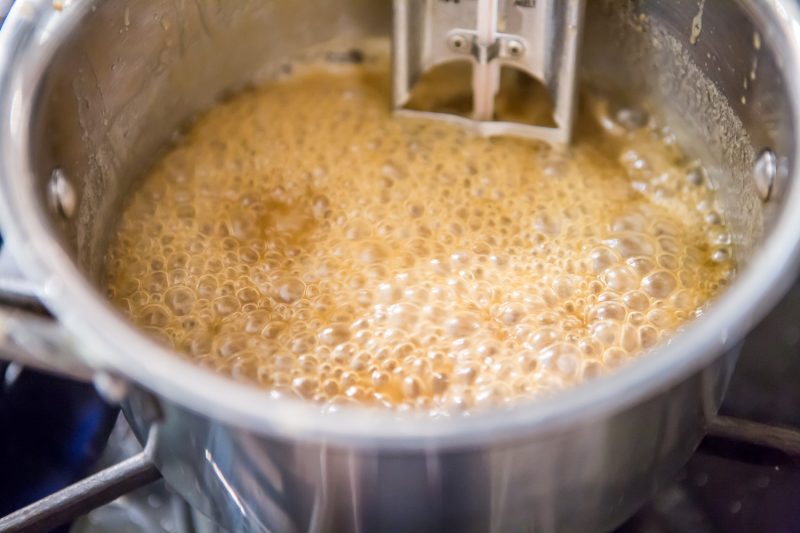
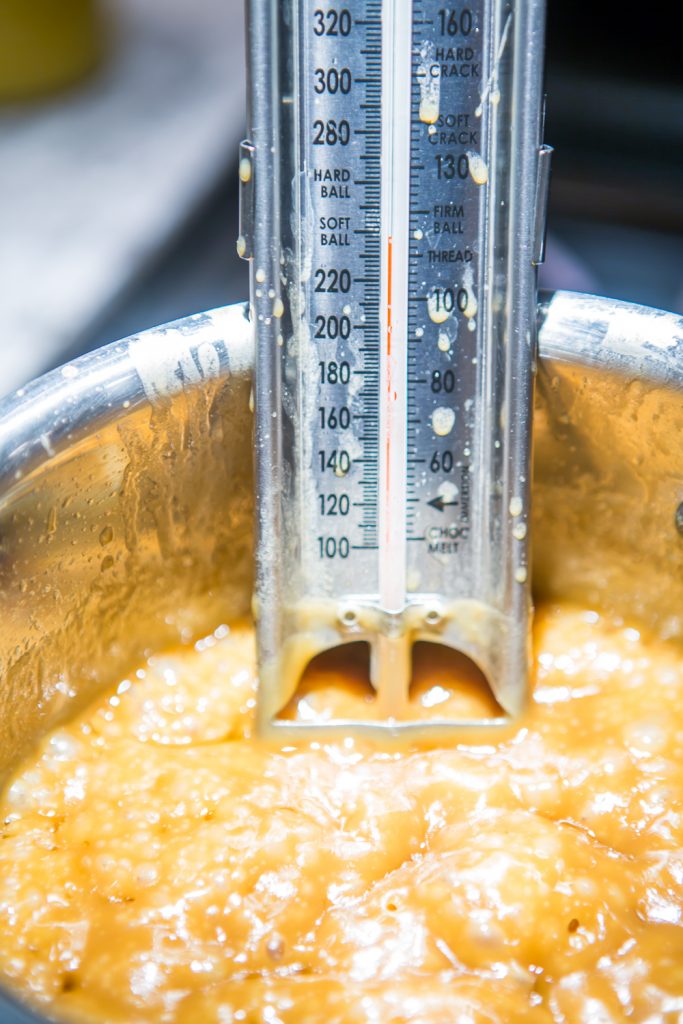
The hardest part about making caramel is the timing. We have a candy thermometer which we used, and cooked the caramel until it reached “soft ball” stage, but I feel like it doesn’t read properly, and maybe cooked a bit longer and was more like “hard ball” stage. I feel like candy thermometers never work. I always mess up marshmallows because of them as well. The mixture will look like a bubbling pot of golden, sugary magma when it gets close to being finished. It will also start to coat the back of a spoon, or the whisk you are using.
This is a relatively simple recipe to make, although you really need to have the time for it, because there are a few moving parts. To make the chocolate cups, I melted down chocolate, and filled the bottom of a mini muffin paper with the melted chocolate. Then I popped those in the freezer while I made the caramel. I would suggest letting the caramel cool, just slightly before adding it on top of the chocolate.
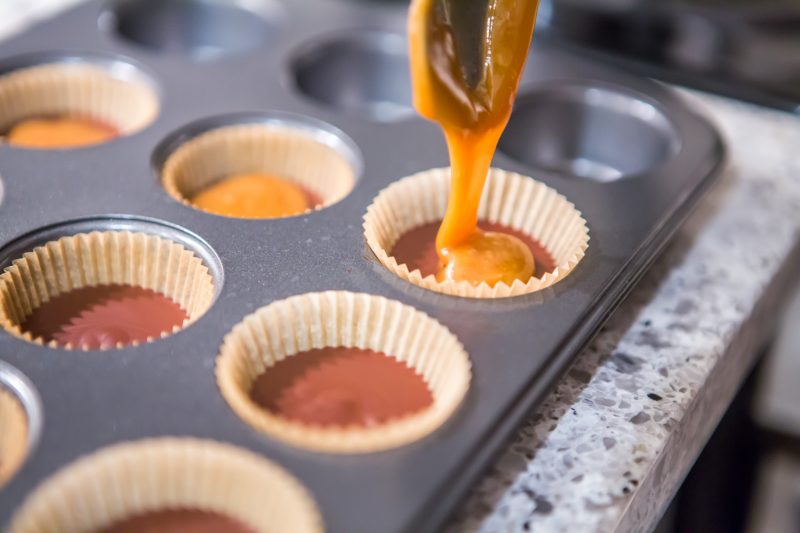
If it’s too hot it will melt the chocolate, and you don’t want that. It will also spread a lot. So I found the ones that I did toward the end worked best. I would just let it rest for about 3-5 minutes before filling the papers.
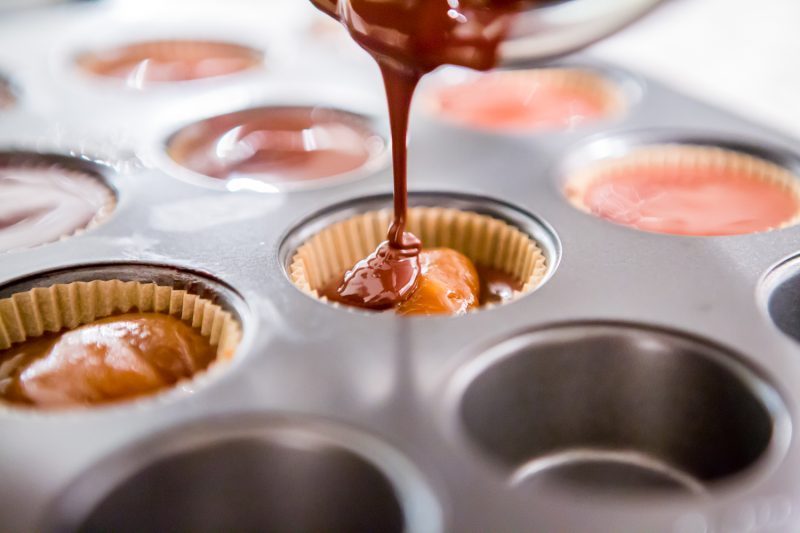
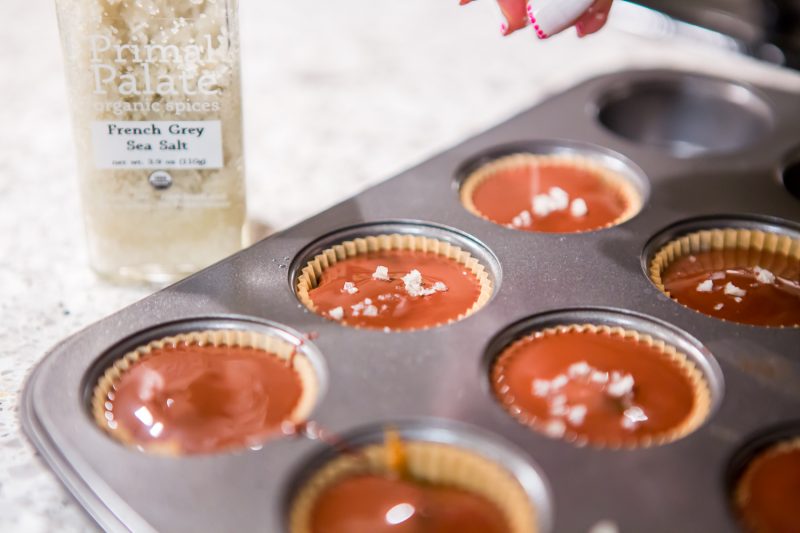
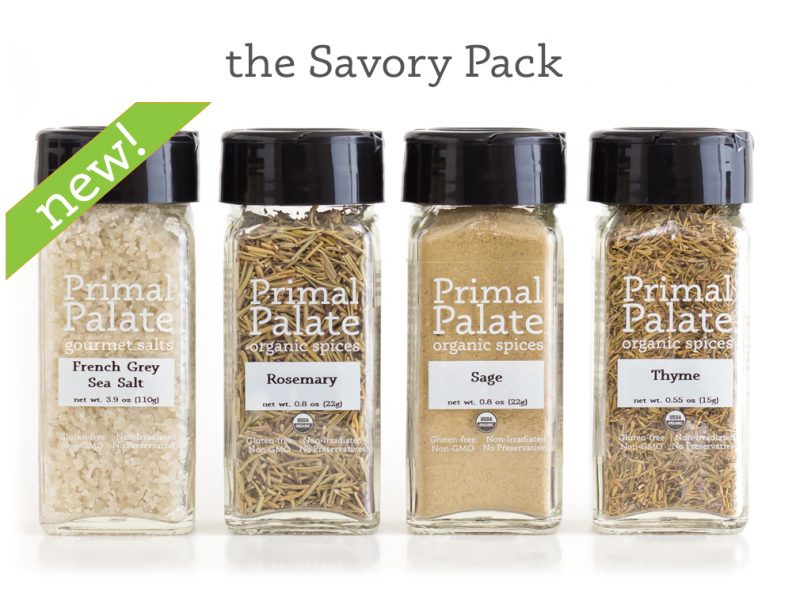
After each cup had a drop of caramel in it, I popped them back in the freezer for a few minutes before covering the tops with the remaining chocolate. Each one was also topped with our French Grey Sea Salt (click to buy), and then I placed them back in the freezer for about 5 minutes, just so the chocolate would set up. You want these to stay at room temperature, or else the caramel will be too hard to bite into.
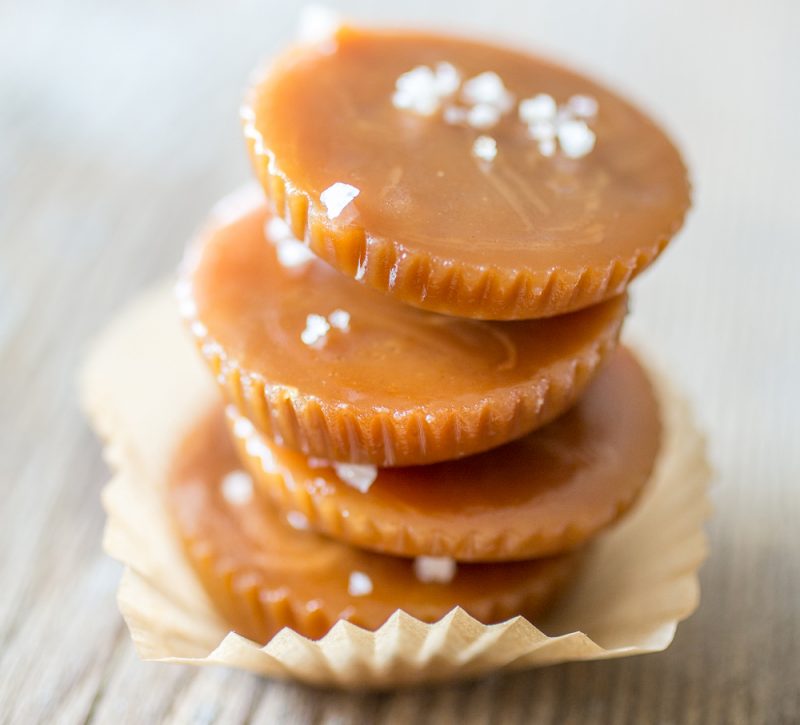
I poured the remaining caramel into little muffin papers as well, and topped that with our french grey salt, which made super cute little bites of caramel candy. This is a really fun recipe that you can make to give as gifts for friends this holiday season, or add to your dessert menu.
I hope you guys enjoy this one! (Scroll down to get both recipes)
-Hayley
PSST!
Get the salt we use in this recipe! You will love it! This pack is perfect for Holiday cooking.
Easy Caramel (Lactose-free)
Ingredients
- 1 cup 1 cup 1 cup Coconut Milk

- 3 Tbsp 3 Tbsp 3 Tbsp Tin Star Brown Butter Ghee

- 3/4 cup 3/4 cup 3/4 cup Maple Sugar

- 1/4 cup 1/4 cup 1/4 cup Pure Maple Syrup

- 1 tsp 1 tsp 1 tsp Pure Vanilla Extract

- 1/8 tsp 1/8 tsp 1/8 tsp Sea Salt, finishing quality French Grey Sea Salt is ideal, for garnish

Process
- Add all ingredients (except sea salt) to a medium sauce pot over medium high heat. Whisk together.
- Use a candy thermometer to monitor the temperature. The mixture will bubble and boil while cooking. Continue to heat and whisk until the mixture reaches "soft ball" stage (235-240 F).
- Remove from heat and spoon the mixture into parchment paper muffin cups (which are non-stick) and sprinkle with sea salt. Allow to cool before enjoying.
Salted Caramel Cups
Ingredients
- 6 oz 6 oz 6 oz Semisweet Chocolate Chips, Enjoy Life Brand

- 1 Tbsp 1 Tbsp 1 Tbsp Organic [*Spectrum Brand, sustainably sourced] Palm Oil Shortening, or coconut oil
- 2 oz 2 oz 2 oz Easy Caramel (Lactose-free) (click for recipe), Recipe makes more than 2 oz, use extra to make salted caramels
- 1/8 tsp 1/8 tsp 1/8 tsp Sea Salt, Primal Palate French Grey Sea Salt is ideal, or other medium to coarse sea salt

Process
- Line a mini muffin pan with 10-12 parchment paper liners.
- Begin by melting the chocolate in a small sauce pan with the palm shortening over low heat, stirring constantly.
- Pour a small amount of melted chocolate into the bottom of each parchment cup (about 1/4"), and place in the freezer while you make the caramel.
- Make the Caramel according to the recipe (click the link in the ingredient list).
- Remove the muffin tin from the freezer, and place a quarter-sized amount (about 1 tsp) of Caramel in the center of each cup. Return to the freezer for 5 minutes to harden.
- Cover the caramel and fill the cups with the remaining chocolate. By this point, the chocolate should have cooled, so you can sprinkle with the sea salt.
- Place in the freezer for 10 more minutes to set up. Store at room temperature if you will enjoy in the next few days. These can also be frozen ahead of time. You want them to come to room temperature well ahead of consuming, so that the caramel center isn't rock hard.


There are no comments yet.