If you follow a Paleo diet I’m sure you are not alone in having a serious love for super yummy, runny pastured egg yolks. In fact, I’m sure most of us can relate to that feeling of failure and disappointment when you crack an egg into a hot skillet of coconut oil and the yolk breaks. It’s almost as depressing as when bone broth doesn’t gel. Sad face.
For those of you runny yolk lovers out there we bring to you, “how to poach an egg perfectly.” This is one of those food science projects that can seem almost as complicated as making marshmallows (which I have failed at twice due to an inaccurate candy thermometer…) I will also admit that I have failed several times at trying to poach eggs, and thought I would be using an egg poacher forever. Then I made Bill help me, and we had success! Something you might not know about me is that I really don’t like reading instructions…like really. I get super distracted and my anxiety of having to learn how to do it keeps me from actually absorbing the information. Eventually I allow myself to learn, but often this happens, so I make Bill figure it out and then he can tell me what to do 🙂 It’s a little sad, but true…
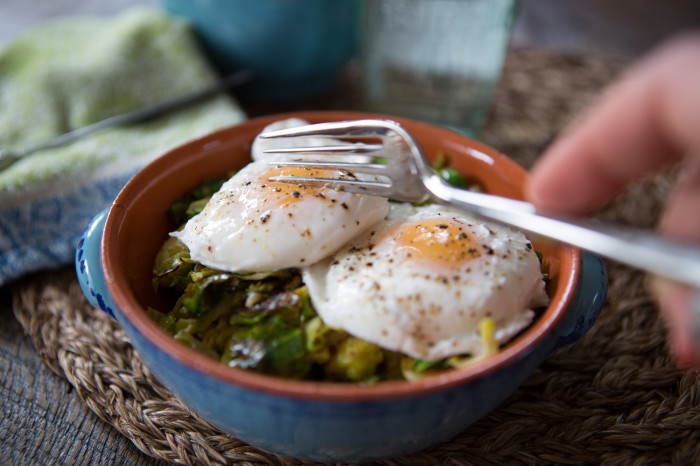
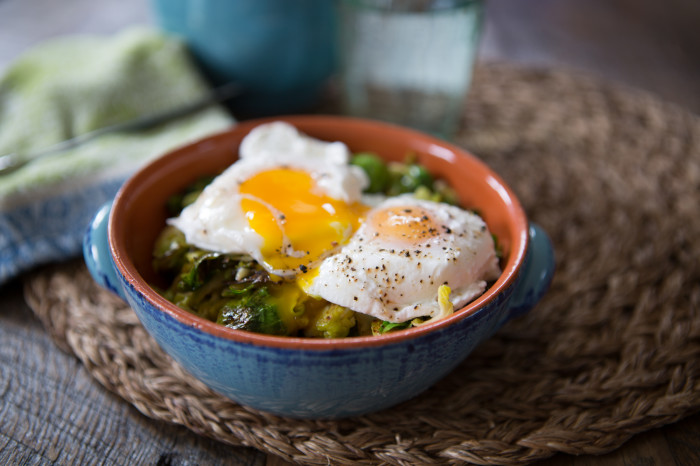
After some research on poaching eggs we found some instructions that seemed to be the easiest yet. Fill a skillet with water, and add some vinegar. Heat the water to 180 degrees, place the lid to a mason jar in the water (if you desire), and pour a room temperature egg into the water. 2 minutes later, voila! You have a super gooey, runny yolk. Nommmm. We served ours over some Brussles sprouts because we had to reshoot a photo for our soon-to-be released cookbook (#3, for those of you keeping track), The 30 Day Guide to Paleo Cooking, but you can enjoy poached eggs with your choice of veggies, bacon, hash, sausage… really whatever you desire! Oh and if you haven’t pre-orderd our 3rd book yet, you must! It is a fantastic guide that is great for beginners, as well as Paleo veterans that would like to do a 30 day clean eating plan. We do all the work for you with a 30 day meal plan, and shopping lists in the book! Plus we have made some really tasty new recipes for that book… about 75 previously un-released, brand spanking new ones!
Okay, now for the eggs….
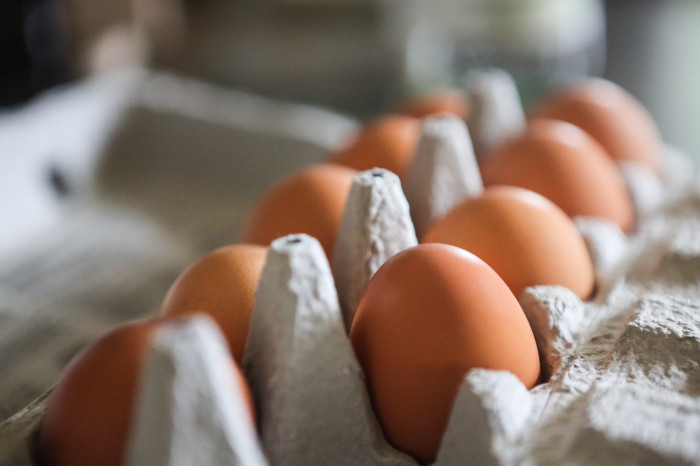
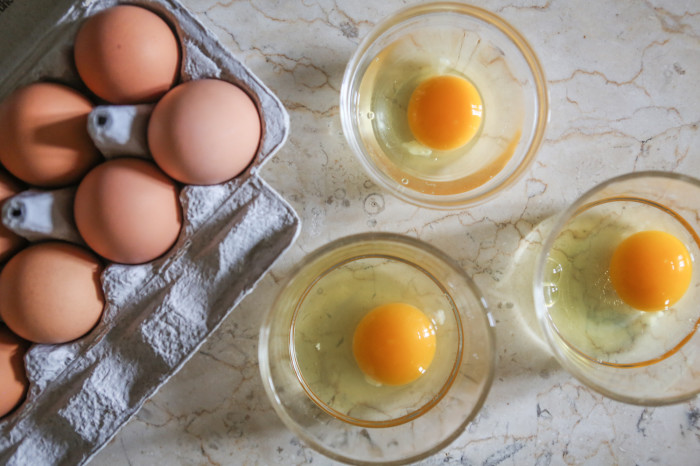
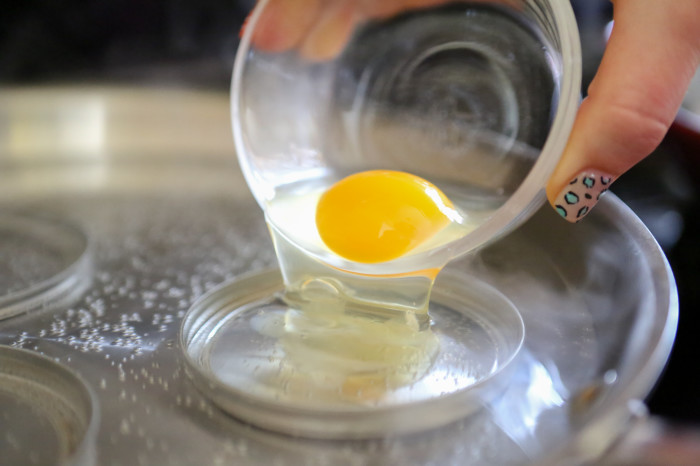
Step 1: crack a few room temperature eggs into separate ramekins. This makes it much easier, and less risky when you pour the egg into the hot water.
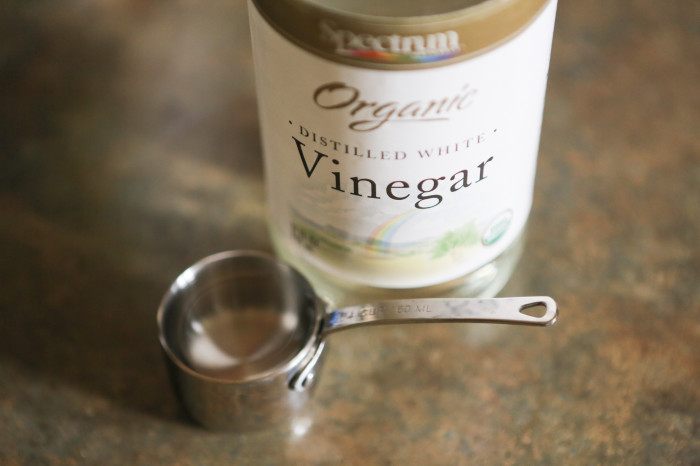
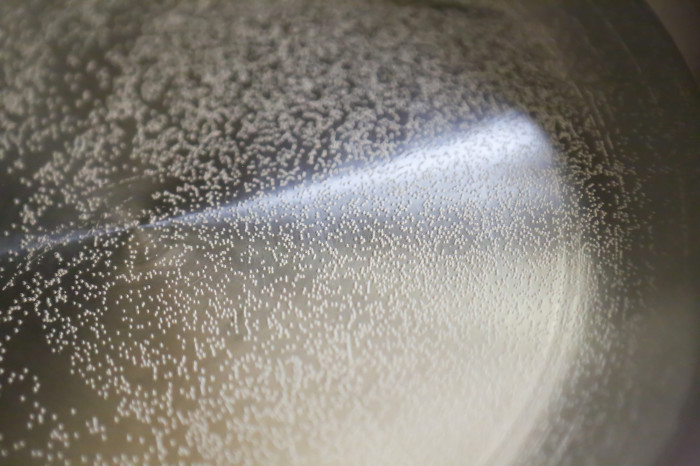
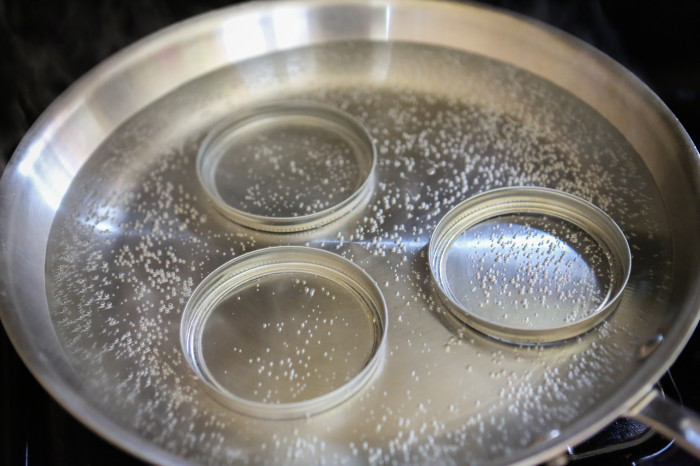
Step 2: Fill a large skillet with water, and add about 1/4 cup of vinegar. We used organic white vinegar, and aren’t positive apple cider vinegar would work, but you could give it a shot. We have read to add a splash of vinegar, and then also have heard to add 2 tablespoons of vinegar for every cup of water in the pot/skillet. We figured we had about 5-6 cups of water in our stainless skillet, so we just added 1/4 cup of vinegar. It worked just fine.
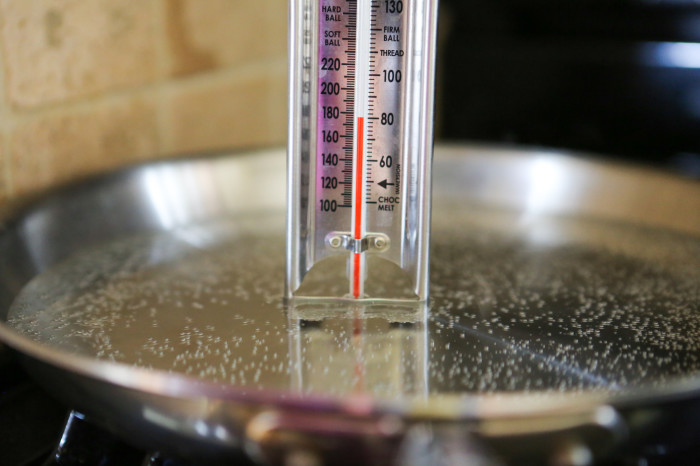
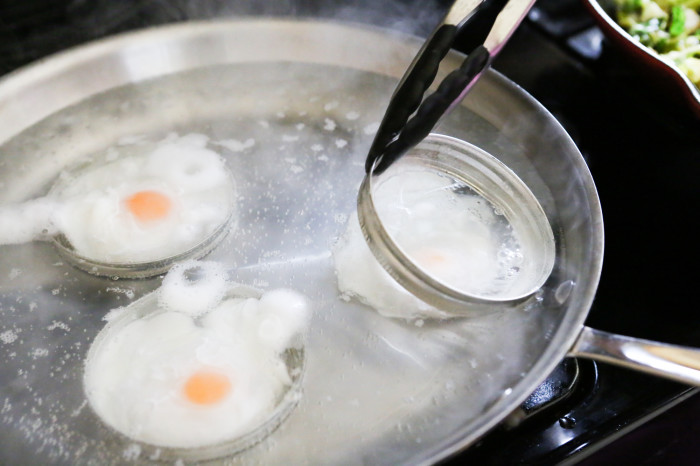
Step 3: Heat the water until it reaches 180 degrees. You don’t want it to boil, you want it to be just around a simmer. Once the water reaches the proper temperature, place the lid rings of mason jars into the hot water if you would like your eggs to be secure and keep their shape slightly. The vinegar should do this as well, so the mason jar lid rings aren’t necessary, but definitely help.
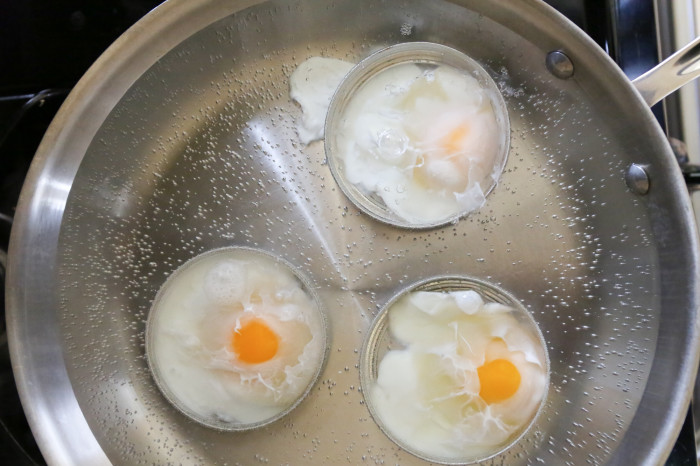
Step 4: Pour one egg into each mason jar lid ring, and allow to poach for 2 minutes. If your eggs are still cold, you will want to poach them for 3 minutes. Remove the mason jar lids with tongs, and remove the eggs from the skillet with a slotted spoon.
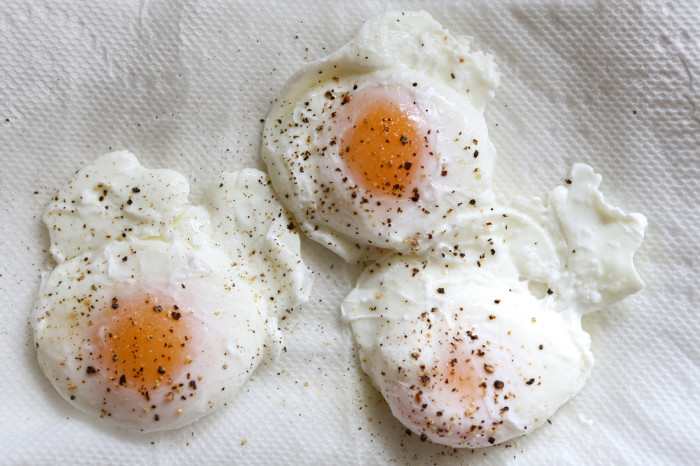
Step 5: Drain the eggs on a paper towel, and then serve with your choice of veggies.
We loved these eggs. They take a bit more effort than just frying an egg in some bacon fat, but they are fun for a special food project. This may even be a fun science food project that you can do with your kids. It’s pretty exciting to see how the eggs turn out, and a great way to involve little kiddos in the kitchen!





Oh those look fantastic. Mine never turn out that pretty. I’ll have to try to jar lid trick! It helps to use fresh eggs I’ve noticed, too, because the protective membrane is stronger. Yum!
Ah, yes thanks for reminding me! We forgot to add that fresh eggs are best 🙂
I would definitely try this trick with the lids except we don’t this kind of lids in Lithuania 😀 Oh, well, I guess, the usual way of poaching (ahem, poaching bags or plastic wrap) will have to do it 🙂 Your photos as always are great 🙂 I can’t wait till Gather will be available for European market 🙂
P.S. having to register on the site first to be able to comment is really annoying!
And whoops, I missed a word: “we don’t HAVE this kind of lids”
Another tip: if you allow the lip of the ramekin to dip below the surface of the water, and allow some water to flow back into the ramekin before you pour out the egg, it will help it to set a little and it won’t spread as much. Love the jar lid idea, definitely will try that!
ps – love your nails!! 🙂
@Cait- thanks for the tip, and thank you about my nails!
@Vita-Thanks! We are really excited for people to see Gather. Registering for a site is pretty standard to be able to comment actually, unless a site is willing to sync with Facebook (which we are reluctant to do). The good news is you only have to do it once.