“…there is no right or wrong in photography… actually the wrong would be not to try and practice.” – Helene Dujardin
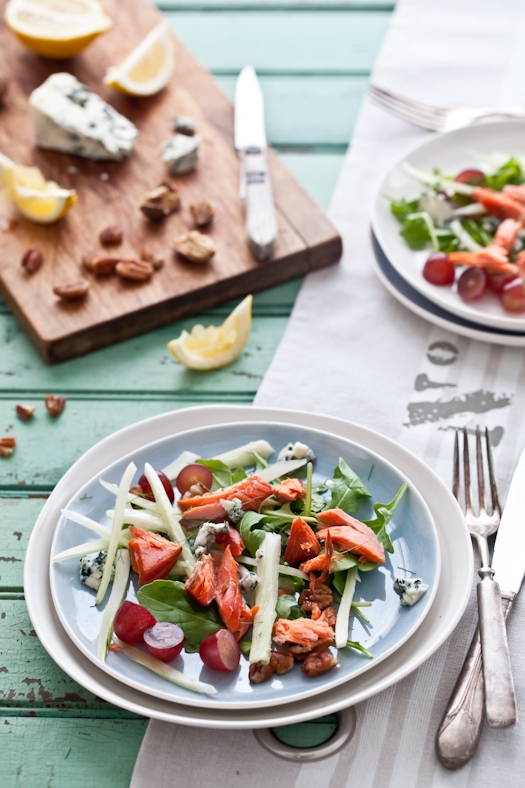
This series of posts on food photography basics and tips was originally inspired by our recent purchase of Helene Dujardin’s fantastic book on food photography: “Plate to Pixel.” This incredible book on food styling and photography is one that every aspiring food photographer should have on their shelves. Helene speaks about her craft in a way that is accessible to photographers of every skill level – whether you are just picking up a camera for the first time or you’ve been shooting for years. Her sense of style, composition and light all contribute to a visual vocabulary that is unmistakable in her photos, no matter how varied the subject. You KNOW when you are looking at the work of Helene Dujardin, which we love. If you haven’t already had the pleasure, you should pay Helene’s critically acclaimed blog “Tartelette” a visit. When we first started blogging ourselves, hers was one of the first blogs we looked to in terms of style we wanted to emulate, and one we still visit with great frequency for inspiration.
With winter around the corner, many of us begin to worry about light – not only about the quality of natural light but the sheer lack of daylight hours. What tips do you have for overcoming challenging shooting conditions in the winter?
If at all possible, I would say to plan shoots for weekend days when there is more possibilities to shoot when sufficient light is available. I would recommend keeping the food that can be refrigerated and served later such as cake and pastries for a Saturday or Sunday morning. I sometimes make a savory dish I want to photograph specifically for a Saturday or Sunday lunch. I will make it, shoot it and then we’ll eat it.
When the weekends are not a good option for taking food shots, I would say to start getting acclimated with longer exposures and putting your camera on a tripod to prevent camera shake. The longer exposures will open your camera sensor for longer periods of time, allowing more light to come through. If that is still not possible, getting to learn (with) artificial light such as speedlites and studio lights, even strobes can be a great tool. They can be a great supplement of light if the one where you are is fleeting or can actually replace it if you are shooting in complete darkness.
Last thing, equip yourself of a fill card (piece of foam board) or a reflector to bounce the available light back on your subject and reduce shadows.
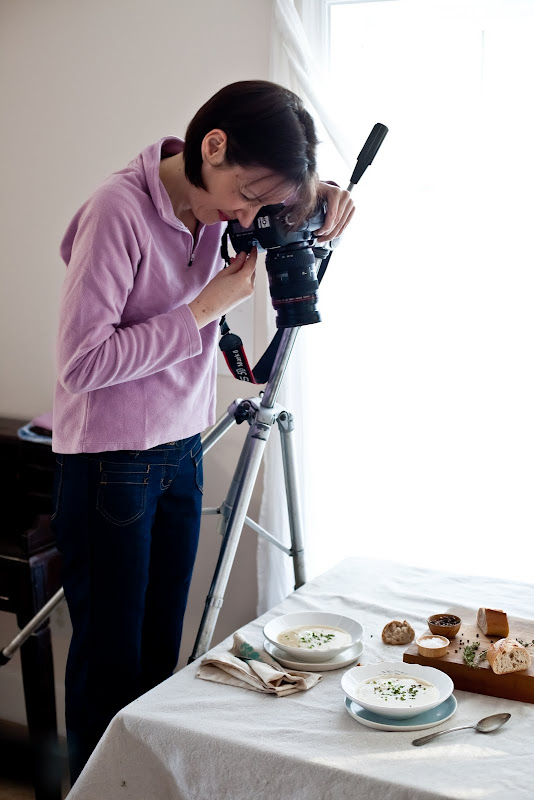
Many of us fuss with our camera settings and end up with sub-optimal exposure. When it comes to adjusting ISO, aperture, and shutter speed, in what order of importance would you place those three when setting up a shot? Do you find yourself adjusting one of those settings prior to others and allowing them to follow?
It varies but I have to say, first and foremost I try to keep my ISO low as much as possible but sometimes, that has to change depending on the shooting situations and conditions. Depth of field, shallow or deep (i love both) is always on my mind so I will focus on aperture first and make sure I can keep the one I prefer for the situation I am in without increasing my ISO. If that becomes an issue, I will try to increase my exposures (loger shutter speed) and final resort will be to increase my ISO. Nothing is 100% and in certain situations, there is nothing wrong with doing that if it helps you get the shot. You just have to know how high an ISO your camera can handle without compromising quality too much since it increases digital noise (grain) to the final picture. Take a few pictures of the same dish at different ISO and see how you camera handles them and go from there.
It’s a bit of a game each time, setting up all three to get what I want and then adjusting depending according to the situation.
In your book (which is fabulous, by the way), you explain right up front that the fundamentals of photography are so much more important than your equipment. In fact, you spend several pages talking about what these basics are. What are three things that anyone with a camera can work on without spending a dime?
- exposure: people tend to over expose their shots in food photography and it becomes sometimes difficult to look at a picture that is too bright. It takes away from the dish itself.
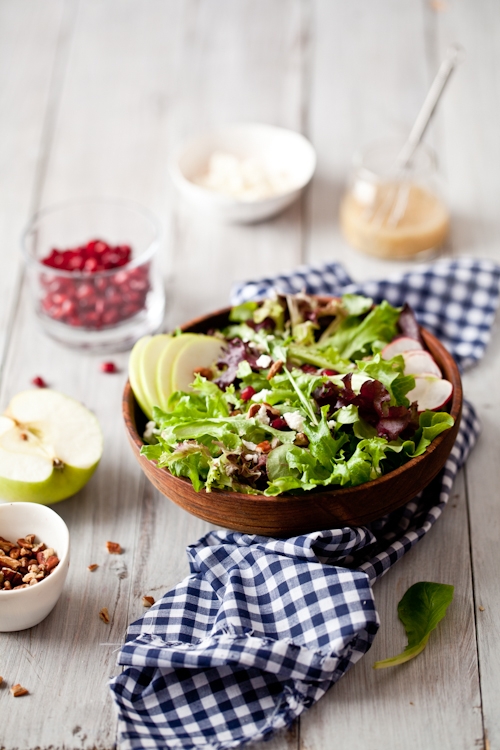
- depth of field: like most people i also like the softness that comes from shallow depth of field but I think that the greatest mistake new food photographers do is believing that using only shallow depth of field is the way to go. What they don’t realize is that by doing so, they reduce greatly the surface are their camera is going to focus on so instead of capturing a cupcake with almonds on top, we might only see one or two almonds in focus and the rest “blurry” or a piece of okra on a plate of gumbo. I am exaggerating slightly but you get the idea. I always try to encourage people to play with different apertures to see how the depth of field influences the story they want the dish to portray. I change mine all the time so I don’t get too comfortable at the same settings. Opens up an entire world of seeing a scene differently. I am often positively surprised.
- finding the light: be aware of the light, where it is and how it changes the look of one shot depending on its quantity and orientation. Grab your camera and a bowl of fruit and set it up in different light situations: outdoor, indoor, bounced, diffused, backlit, side lit and see how one same object is never telling the same story depending on the light.

You have an incredible sense of style when it comes to composition. While style is not easily taught, what advice do you have for budding photographers, specifically when setting up a food shot?
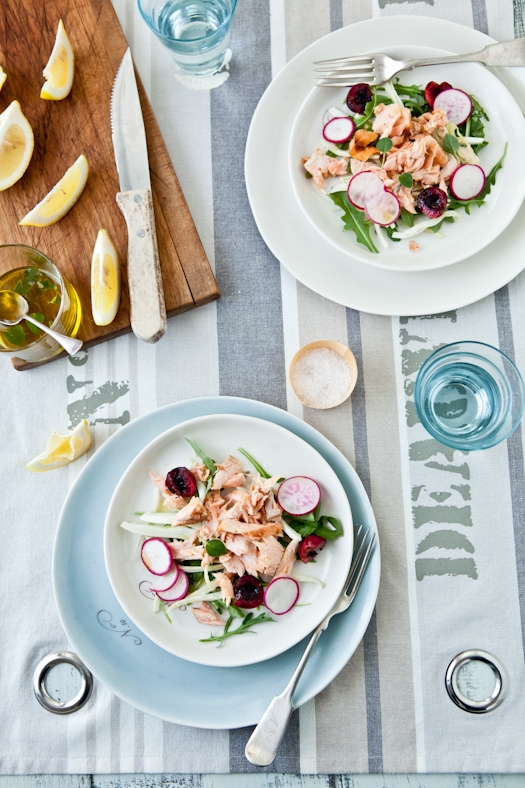
[All images, unless otherwise noted, are courtesy of Helene’s blog: Tartelette]
Visit Tartelette


Excellent post! Just in time as I have recently been making myself put down the iPhone and pick up The Beast for my food shots.
Where's part 1?
The book looks great. Love seeing this type of video to see how she actually sets up her camera. The long exposure as high iso as you can go before grain is a great tip. I was wondering what would be the cheapest but decent quality studio and strobe lights?