I’ll preface this entire post by saying this: yes, I have an unfair advantage here. Prior to our Primal Palate days, I was a professionally licensed landscape architect, and was also a LEED accredited professional (that’s a certification from the US Green Building Council). So suffice it to say: building this mini green roof was well within my wheelhouse. But you can do it too, and I’m going to show you how easy it is!
This whole chicken journey started many months ago when Diana Rogers, author of The Homegrown Paleo Cookbook approached us and asked if we would like to try our hand at raising backyard chickens. Hayley and I had talked about it before, but never really wanted to take the plunge because we like having the ability to go away on vacation several times a year (and if we got chickens, would we need a chicken babysitter while we were gone?) Fears of all that aside, we had the suburban homesteading thing on our minds, and with daydreams of hens foraging through lush spring grass, we took the plunge.
say whaaaat?
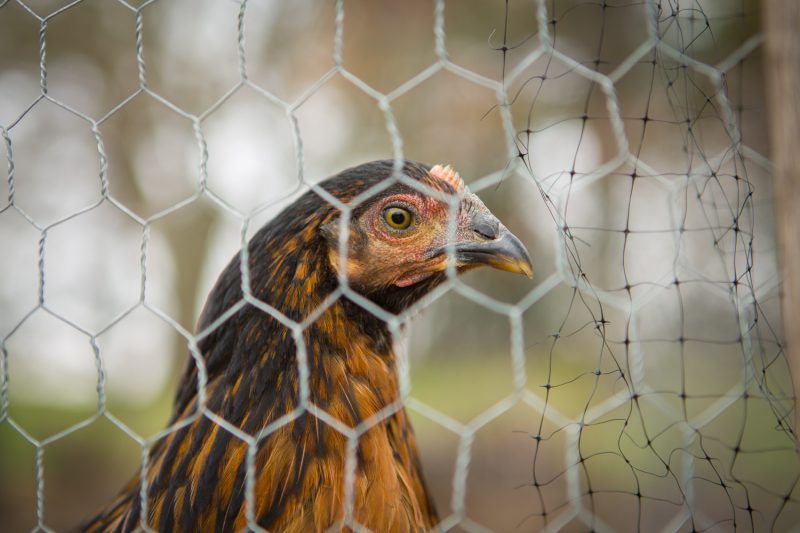
Fast forward to now, over 3 months later. We’ve gone through a couple months of the chicks being indoors (6 weeks of them being inside the house, even), about 4 weeks in the garage, and another 3 or so weeks outside. Seeing them walk on grass for the first time was amazing. But even more amazing was getting them in a big run and watching them try flying for the first time. We’ve also gone from 8 in our flock, down to 7. It turned out that Lola was a rooster, which wasn’t going to work for us in our close suburban quarters. Luckily our friend who has a true homestead out in the country (and also manages a couple farms), was kind enough to take “Lo” in. Thanks Erik!

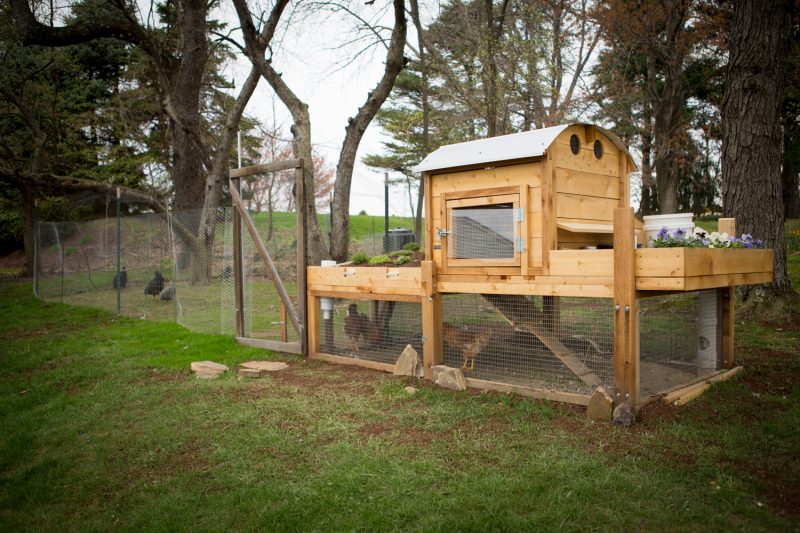
Every morning, we walk out to the coop and lower the trap down, and the girls excitedly run down the ramp (or jump, or fall), and gather near the run door to be let out into the larger “yard” we’ve created for them, which is about 12′ x 20′. They really love having more room to roam in this yard, and we give them unlimited access to it during the day. The construction isn’t too fancy (yet), but it’s just 4′ of chicken wire fencing, with bird-safe netting over the top to prevent any birds of prey from making a meal out of our chickens. So far, so good. Oh, and we also close them into their coop run if we’re going to be gone more than a couple hours.
The coop and run are much, much more secure than the yard. We decided to purchase a coop and run from The Urban Coop Company for several reasons. Well, to start, we decided to purchase a coop in the first place because this spring has been really busy for us, and I knew I wouldn’t have time to build one myself. One reason we really liked this setup was having the ability to provide enough food and water for the chickens for almost a week (with the extra feeder and waterer in the run extension), which brought the possibility of vacation back into the conversation. The other more important factor was the apparent rugged construction of the coop and run. Made with the super-heavy gauge hardware wire for the walls, double latched doors, nothing short of a bear can get it. And to top it off, I took more hardware cloth and buried it under the perimeter of the coop to prevent digging animals from getting in. I’m not saying it would be impossible for a predator to get in, but a casual attempt will not work on this setup.
So that brings you up to speed, if this is all new to you! In the last 3 weeks since we put the chickens out permanently, we’ve realized that it would be better for them to have some overhead protection in the run extension when we get bad weather. You can do this in a variety of ways (plastic sheeting, a piece of wood, pond liner, etc), but we wanted to give it an appealing visual element as well, so we elected to construct a green roof for it.
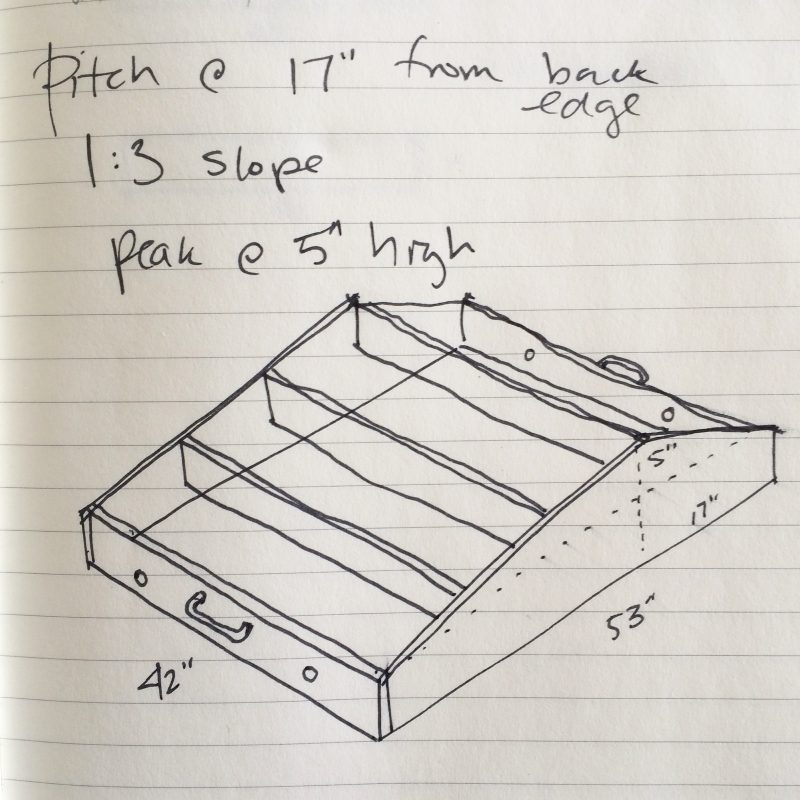
The construction of this green roof is fairly simple and straightforward. Here’s my design drawing, and a few chicken scratch notes (get it?), which probably only make sense to me. (For what its worth, I decided to go with two handles per side, and no weep holes).
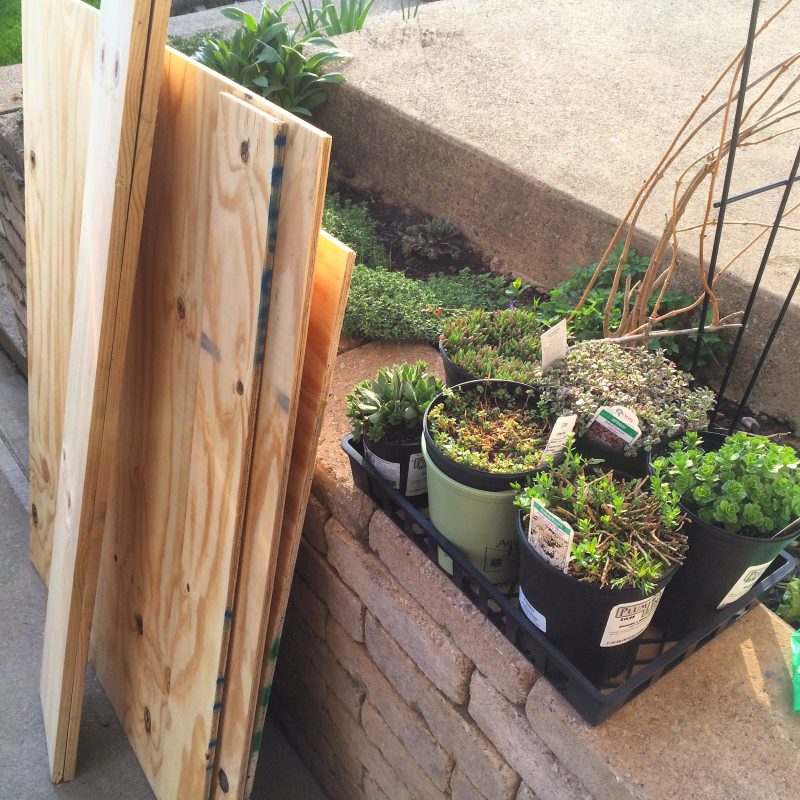
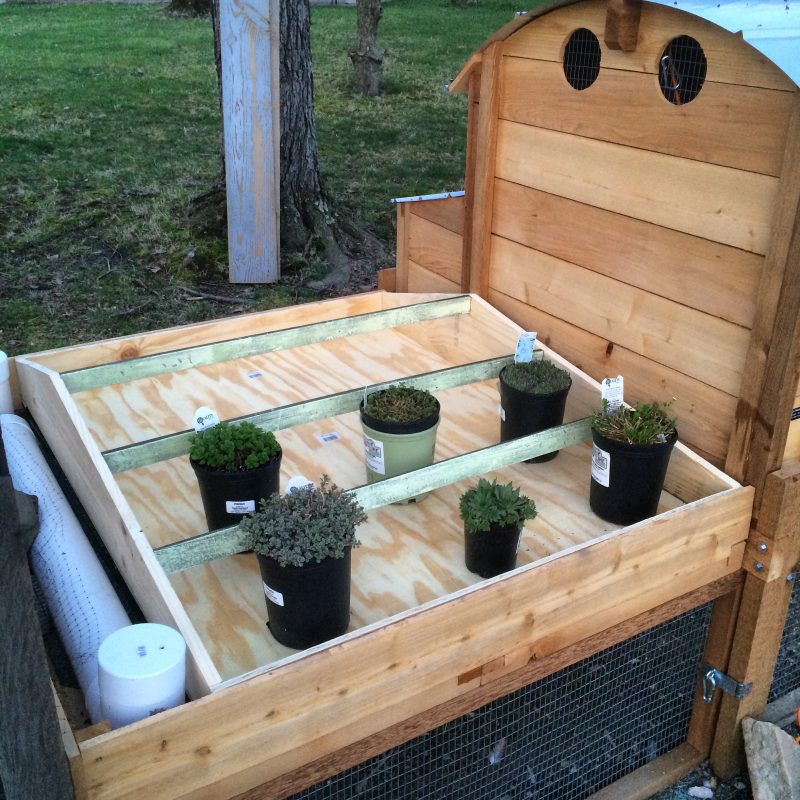
The supplies needed are straightforward too. All you need is a standard size sheet of plywood (which I had rough-cut at Lowes), a 1 x 10 x 10 board (cut in half at the store), plants, soil, handles, and plastic sheeting (not all shown). And for tools, you’ll need a circular saw, drill, hammer, screw and nails.
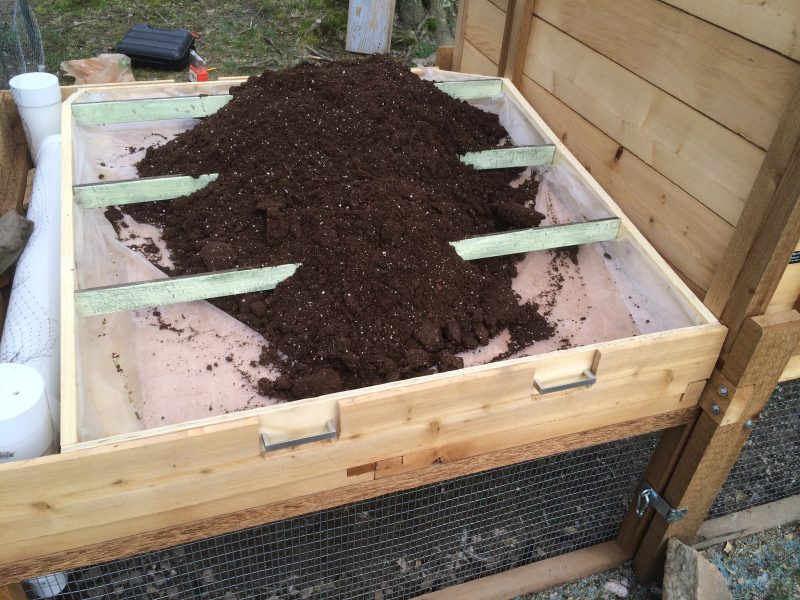
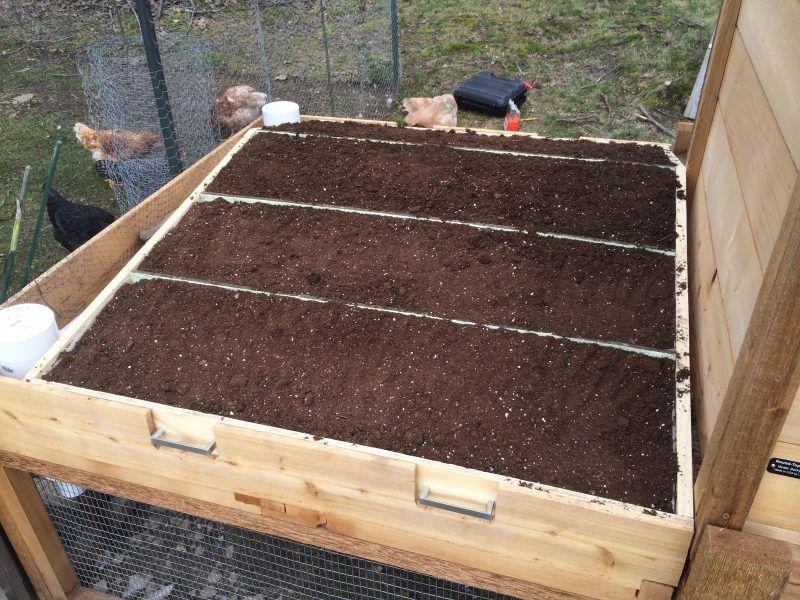
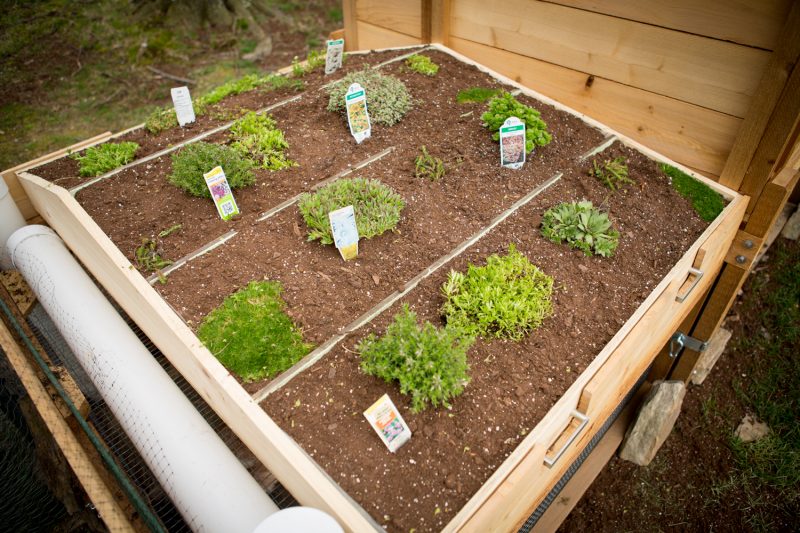
I’ve spared you the boring initial part of me putting this together. The three little green boards span the top of the soil line to help discourage erosion (in theory). And the white PVC things are the water (long tube), and feed (short tube at back).
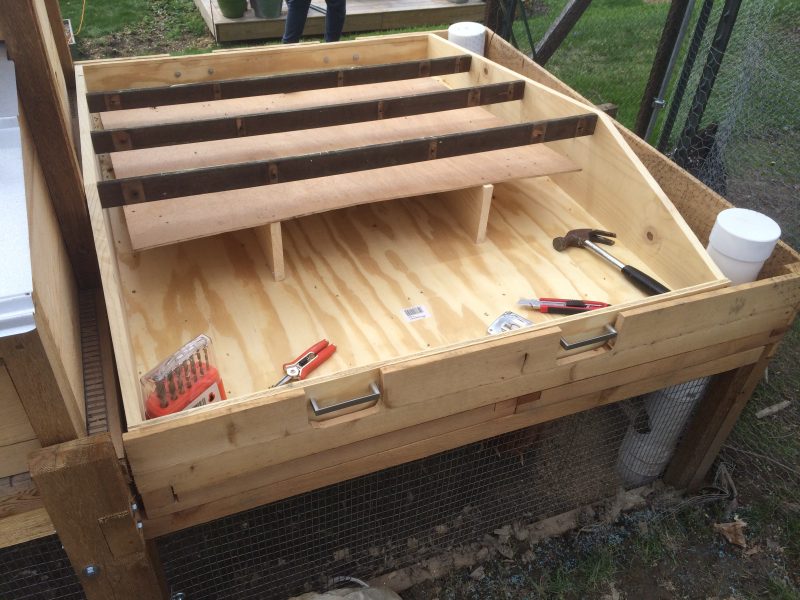
This is the construction of the air pocket (which keeps the structure weight down). I used the cut-offs from the side boards, and a sheet of luan I had laying around. This part will never see the light of day, so don’t bother making it perfect.
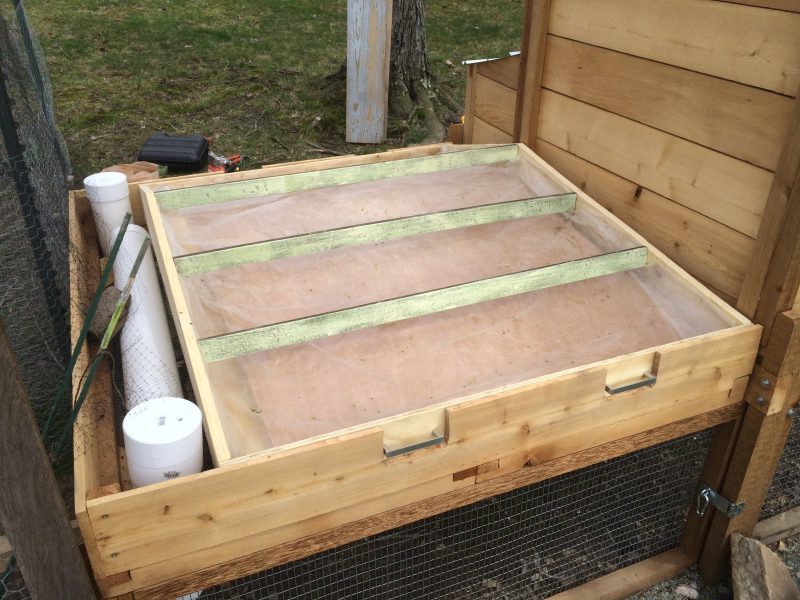
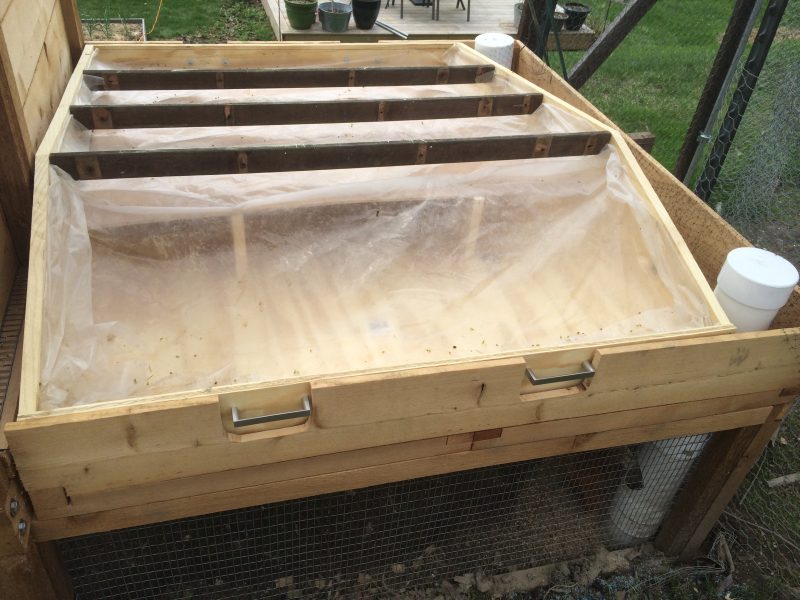 Here you can see I’ve added the plastic sheeting. This serves two purposes: to keep the soil out of the air pocket, and to minimize wet soil contact with the wood, which will shorten the lifespan of the wood. Believe me, it doesn’t need to look perfect (clearly), because in a second it’ll be covered in soil, and never seen again.
You want to use a very lightweight soil mix for something like this, so we used a basic potting soil mix that you can buy at the store. Good enough, for sure.
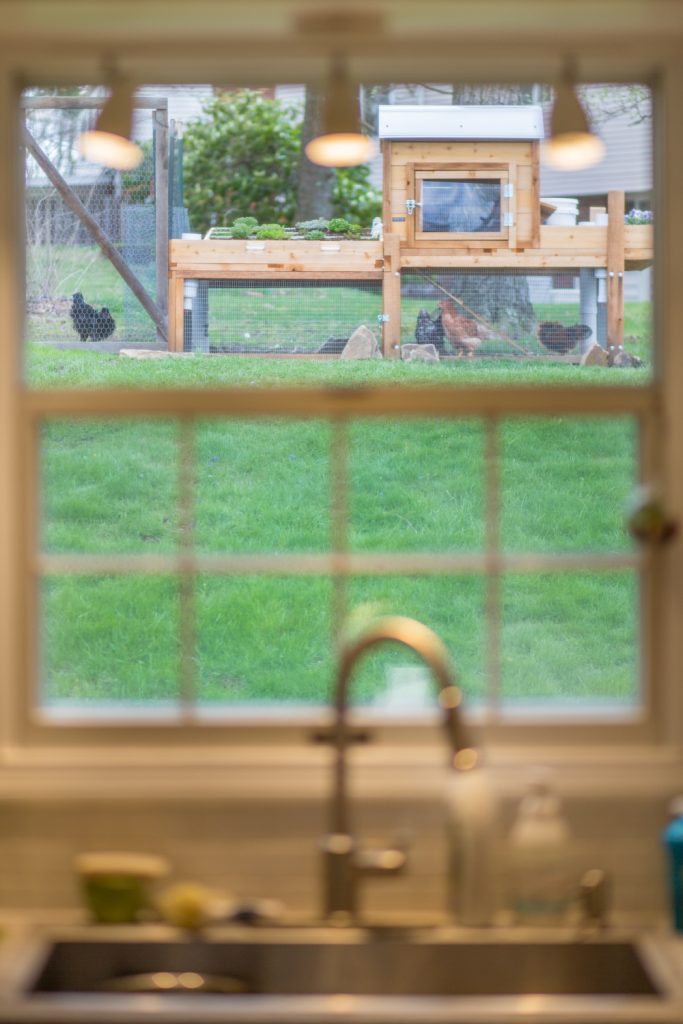
Let’s talk about some of the design considerations (because let’s face it, I’m a designer at heart!) First of all, I wanted to be able to view the green roof from our kitchen window. Since the coop is up a small hill, it’s already above eye-level, so the roof line of the green roof needed to be pitched towards the house. It makes doing endless dishes 50% more bearable!

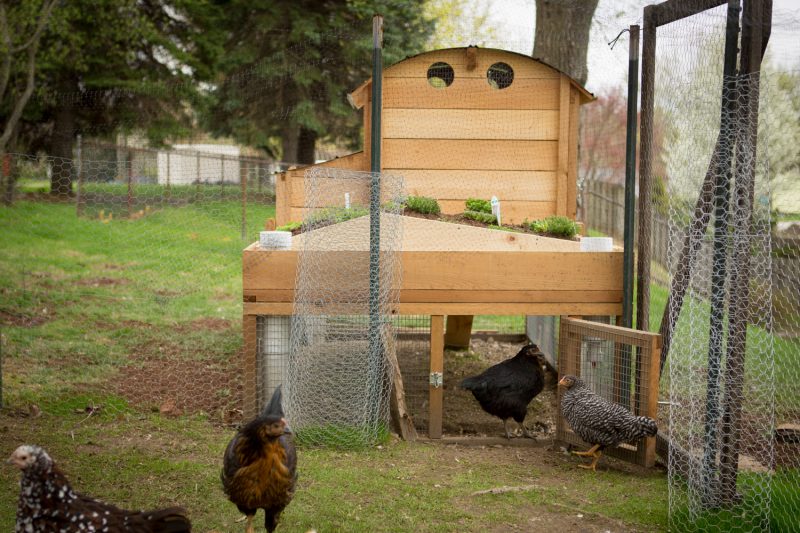
Looking at the side profile of our coop, I decided to align the crown of the roof with the back side of the coop itself. I also decided to follow the same roof pitch as the egg box, which then determined the front slope that faces the house. It all worked together perfectly.
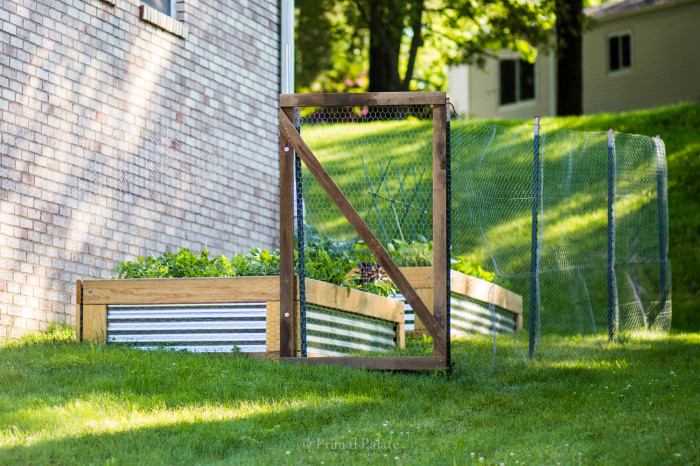
(I leave the extra chicken wire fencing at the ends of the yard so that the yard shape can move and change as needed.)
From a functional standpoint, I wanted the ability to lift the green roof off of the run extension so that it could be moved easily. So this meant adding some handles to both sides (lifting it is a 2-person job, for sure!) And finally, I wanted to add an air cavity to keep the overall weight down.
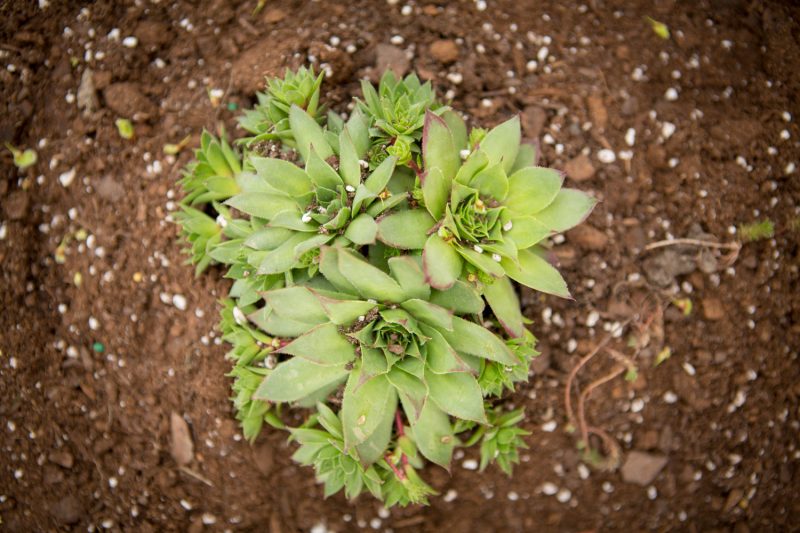
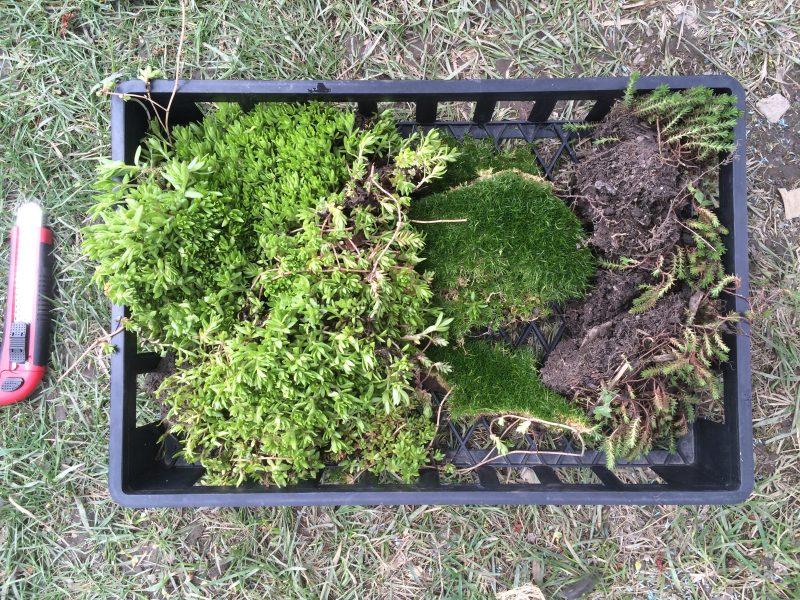
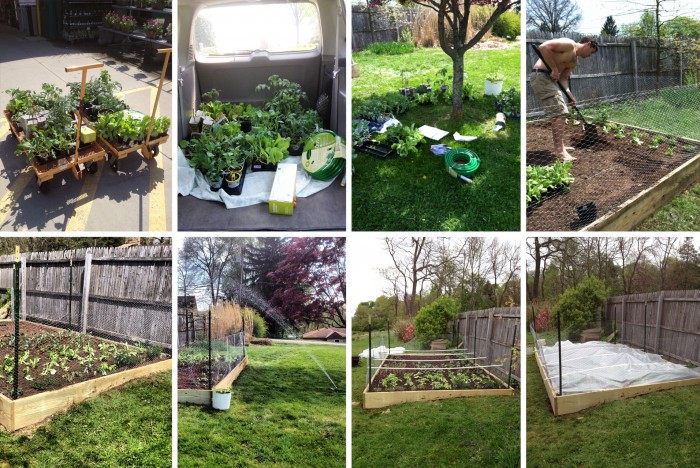
For plant selection here in Pittsburgh (USDA planting zone 5/6), Hayley and I visited our favorite local nursery, Plum Line, which is out on the border of Plum and Murrysville. Last spring we got our Eastern Redbud tree there, as well as our Meyer Lemon bush, and many other fun plants. Last year was our first spring in our new house, so we really went all out. That was also our first foray into doing raised beds (check that post out!) So in terms of plant selection for the green roof, we wanted to get plants that would be regionally appropriate for the conditions. In warmer, drier climates, you could do mostly succulents, which would be amazing. Here, we only have a few varieties of succulents to choose from (Hen and Chicks, ironically).
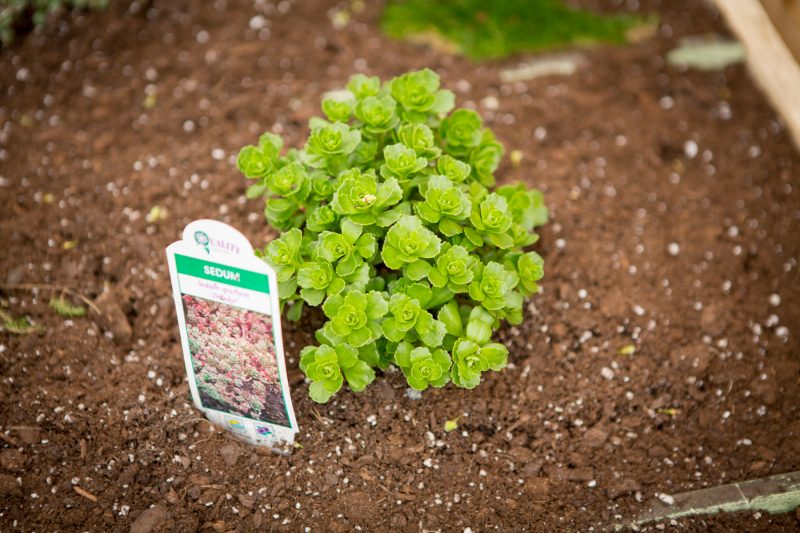
But we also can sustain some really cool sedums which are common in colder zones too. Sedums are like the succulents of colder climates.
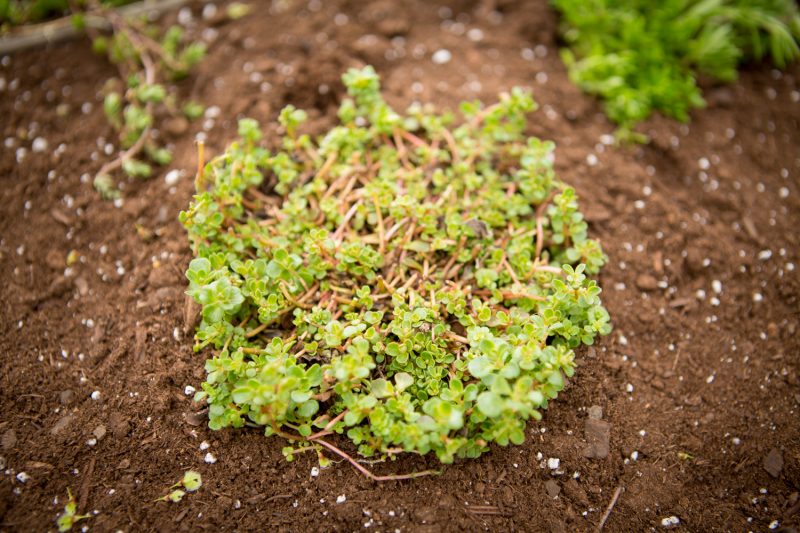
We also took a walk over to my parents house and pillaged some additional plants including some lovely irish moss that doesn’t seem to be particular about where it grows. My mom said we could, so I didn’t feel too bad about it.
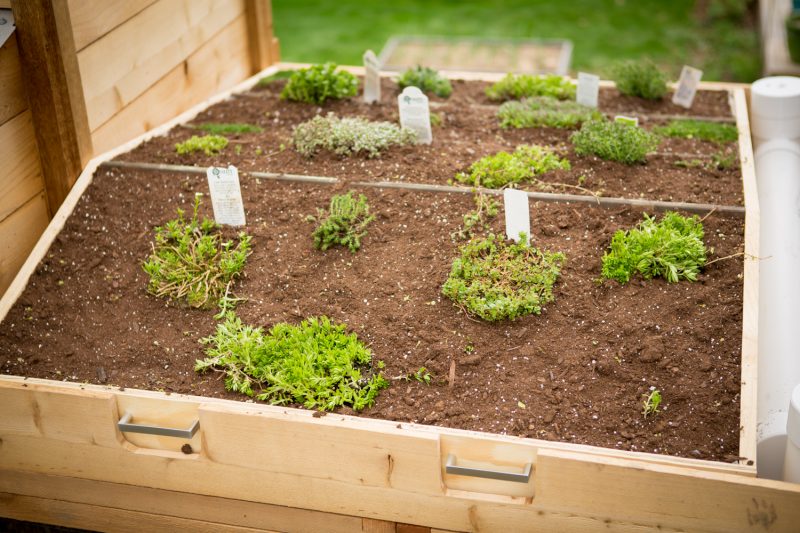
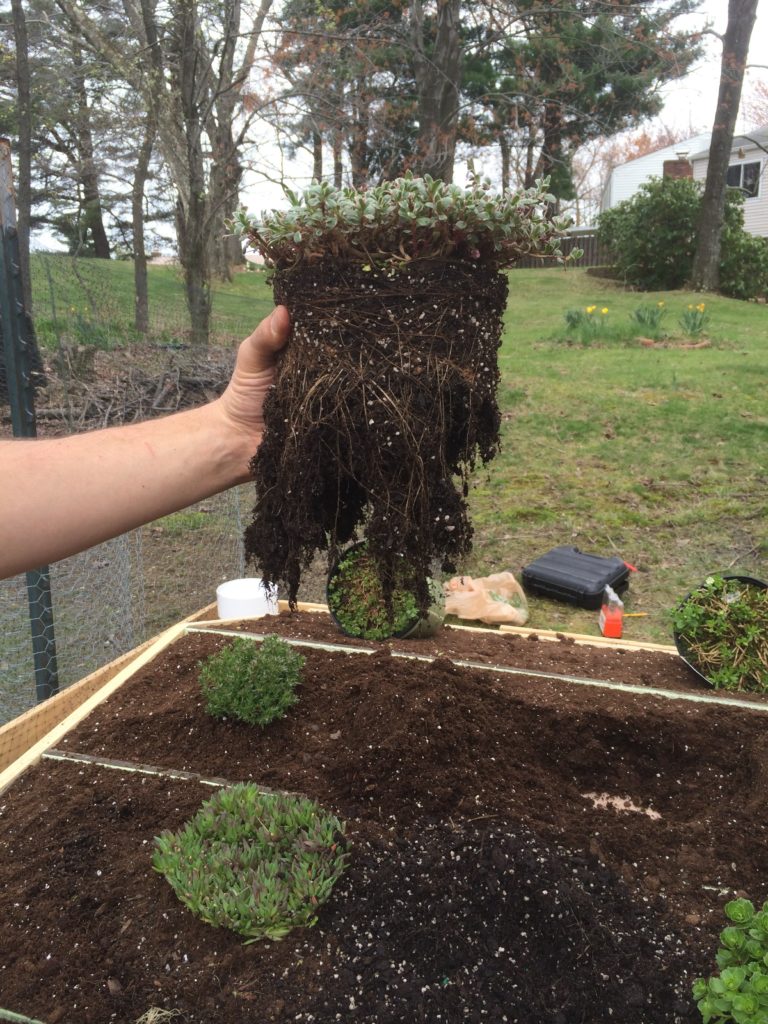
Since we constructed an air cavity, it left us with about 4 inches of soil to plant in… plenty for green roof plants. But it still meant that we had to significantly ‘tease out’ the root systems before planting.
It’s hard to say how the plants will fare up there, but with such a big diversity, we’re really just going to see which ones thrive (and which ones don’t). We’ll give an update in a couple months when everything has grown in and begun to establish itself. In the meantime, be sure to follow us on Instagram to follow along with progress. Thanks for reading! Look below for some other posts you might like, if you enjoyed this one.
-Bill
How to Raise Backyard Chickens
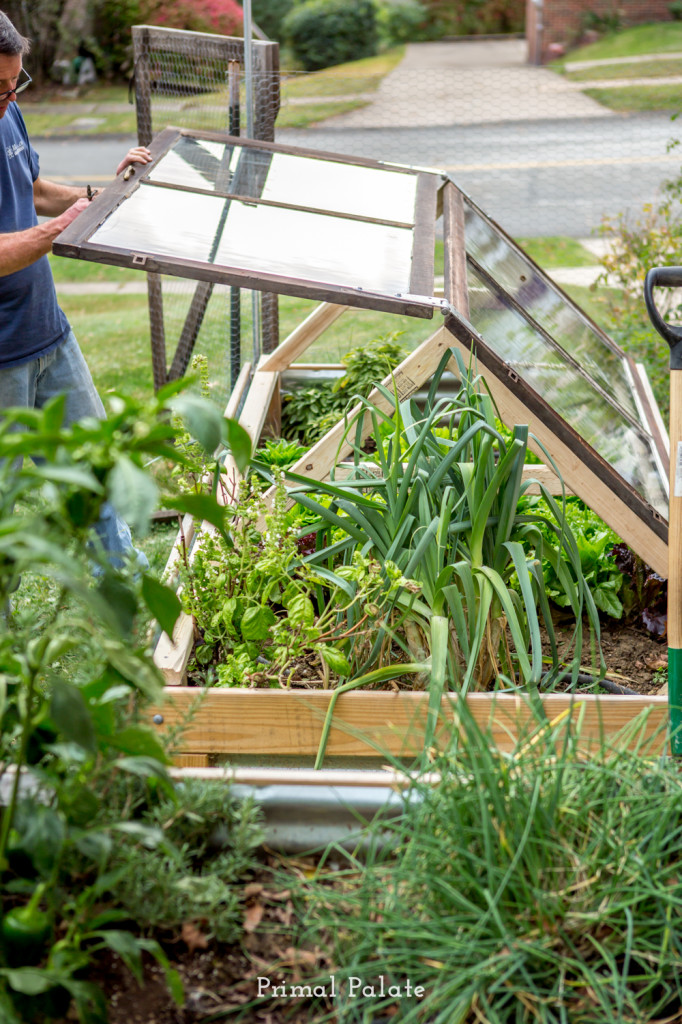
Extending the Growing Season using Cold Frames
A tour of our gardens
Our vegetable garden at our old house


Your setup looks great! I hope I get the courage to take the leap into backyard chickens soon. You definitely make it look doable.